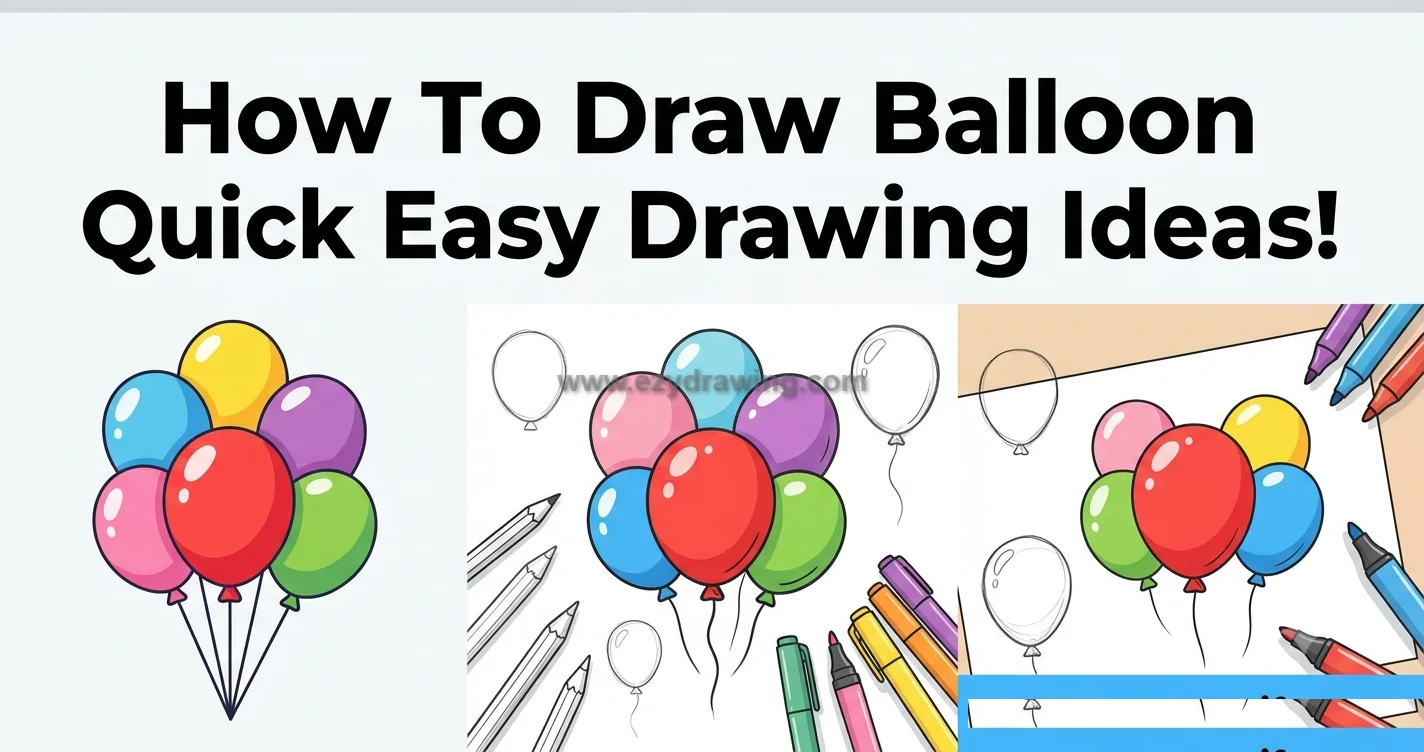
How To Draw Balloon Quick Easy Drawing Ideas
Welcome to this easy, step-by-step tutorial! Whether you’re an aspiring artist or just looking for a quick creative activity, learning How To Draw Balloon is a fantastic place to start.
A balloon is defined by simple geometry, the circle and the triangle, making it perfect for mastering basic shapes, symmetry, and smooth lines.
This simple activity also makes the how to draw practice feel clear, fun, and beginner-friendly. In this guide, we will break down the process into six simple, visual stages. By following along, you’ll soon be able to inflate a flat drawing into a cheerful, floating icon. Let’s grab a pencil and get started!
Simple Balloon Sketching Guide for Beginners
Simple Balloon Sketching Guide for Beginners is a simple and fun drawing guide that helps kids and new artists learn balloon sketching with easy shapes and clean lines.
This tutorial makes it simple to draw a round balloon, add a small knot, create a curved string, and finish the design with neat details.
This guide is also perfect for balloon drawing for kids because the steps are easy, clear, and fun to follow. With each step, beginners can practice basic drawing skills and create a cute balloon drawing with confidence.
Step 1: The Foundation The Circle
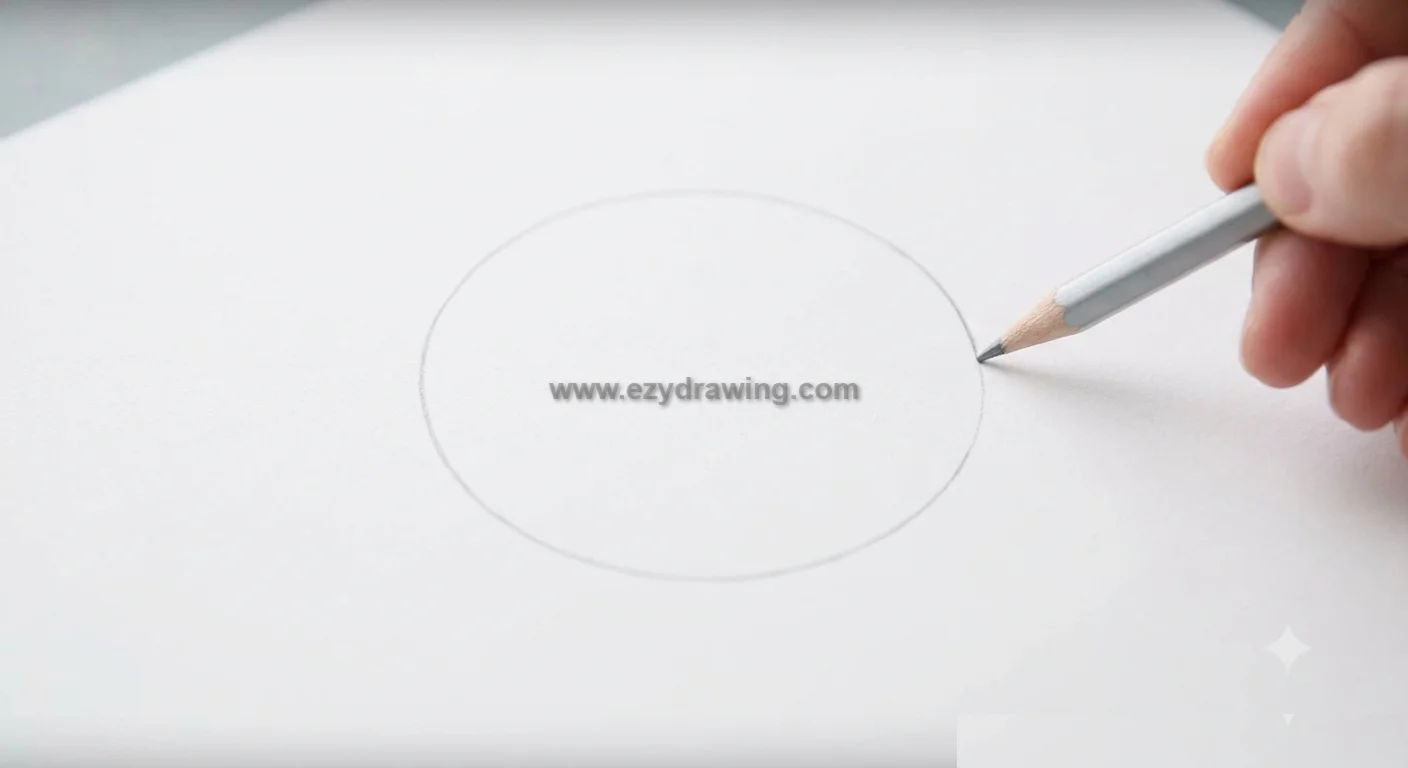
All balloons start with a basic container for air. We begin by drawing a clean, light circle in the center of our page. This circle defines the main body and volume of the balloon. Keep your pencil pressure light, as we will be refining this shape later. This sets our starting point.
Step 2: Adding the Neck The Triangle
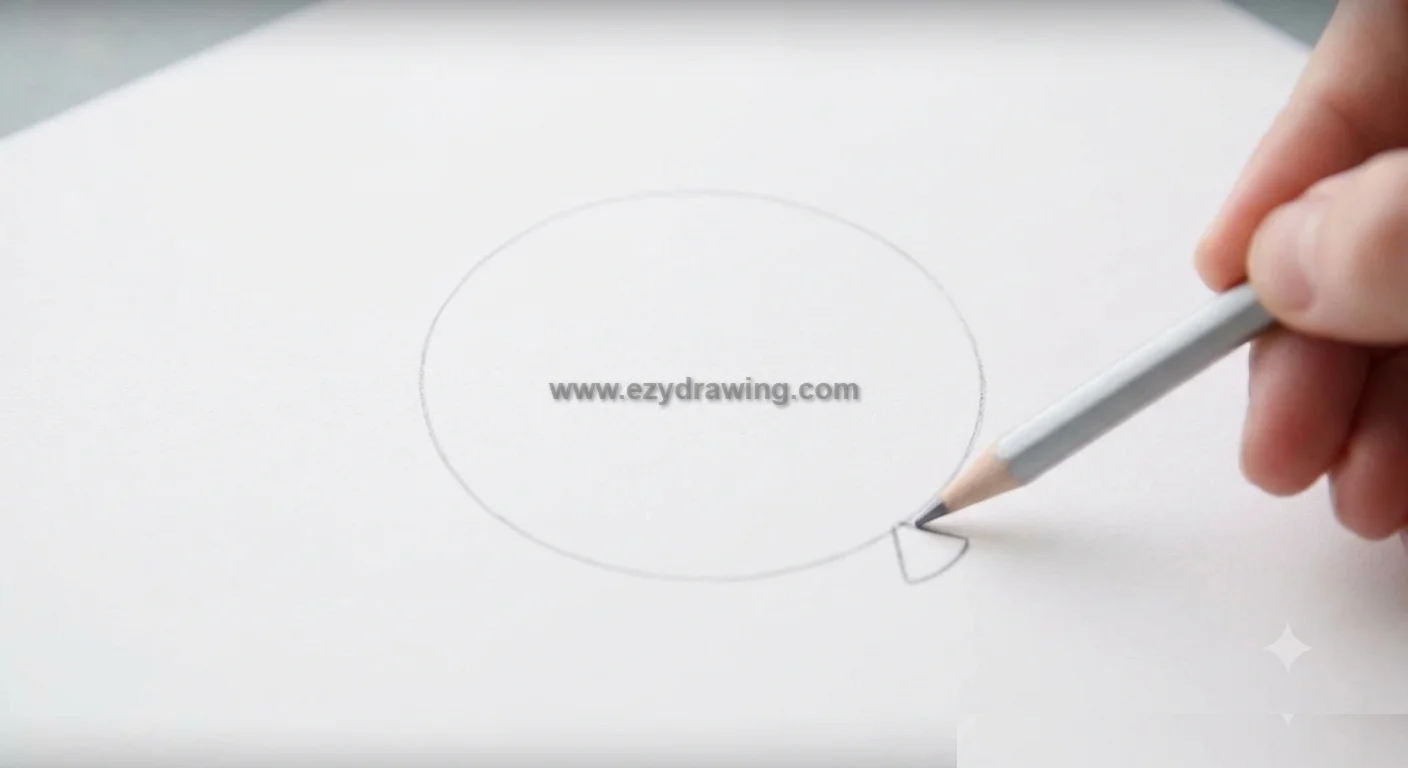
Now, we need to add the section where the balloon is tied. Directly beneath the lowest point of your circle, draw a small, slightly rounded triangle, or a simple ‘V’ shape. This triangular form represents the neck of the balloon. Make sure it is centered under the main circle.
Step 3: Defining the Knot
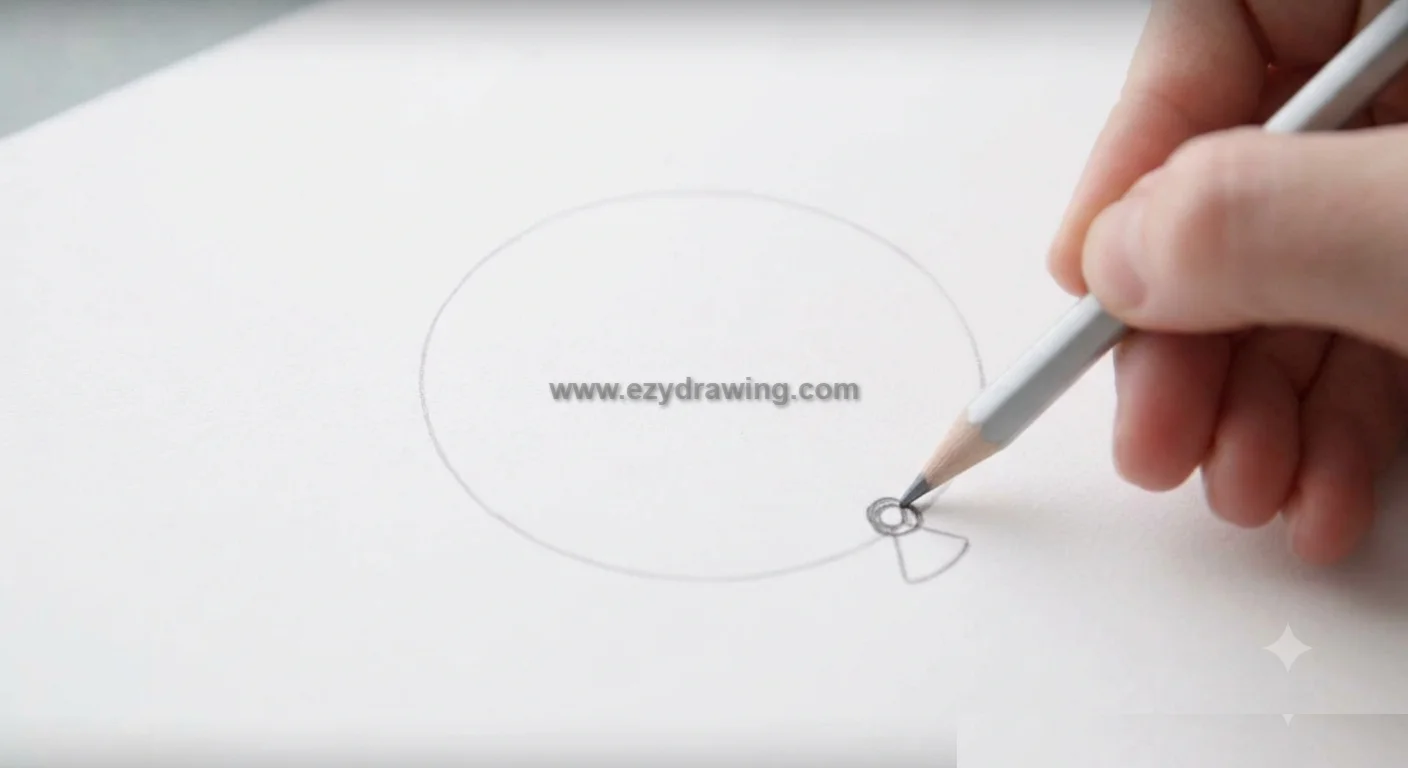
With the basic anatomy established, it’s time to secure the inflation point. Draw a small, tight circle or an oval where the triangle (neck) connects to the main body of the balloon. This little shape represents the knot. It should pinch the junction slightly, showing that the balloon is tied off.
Step 4: Attaching the String
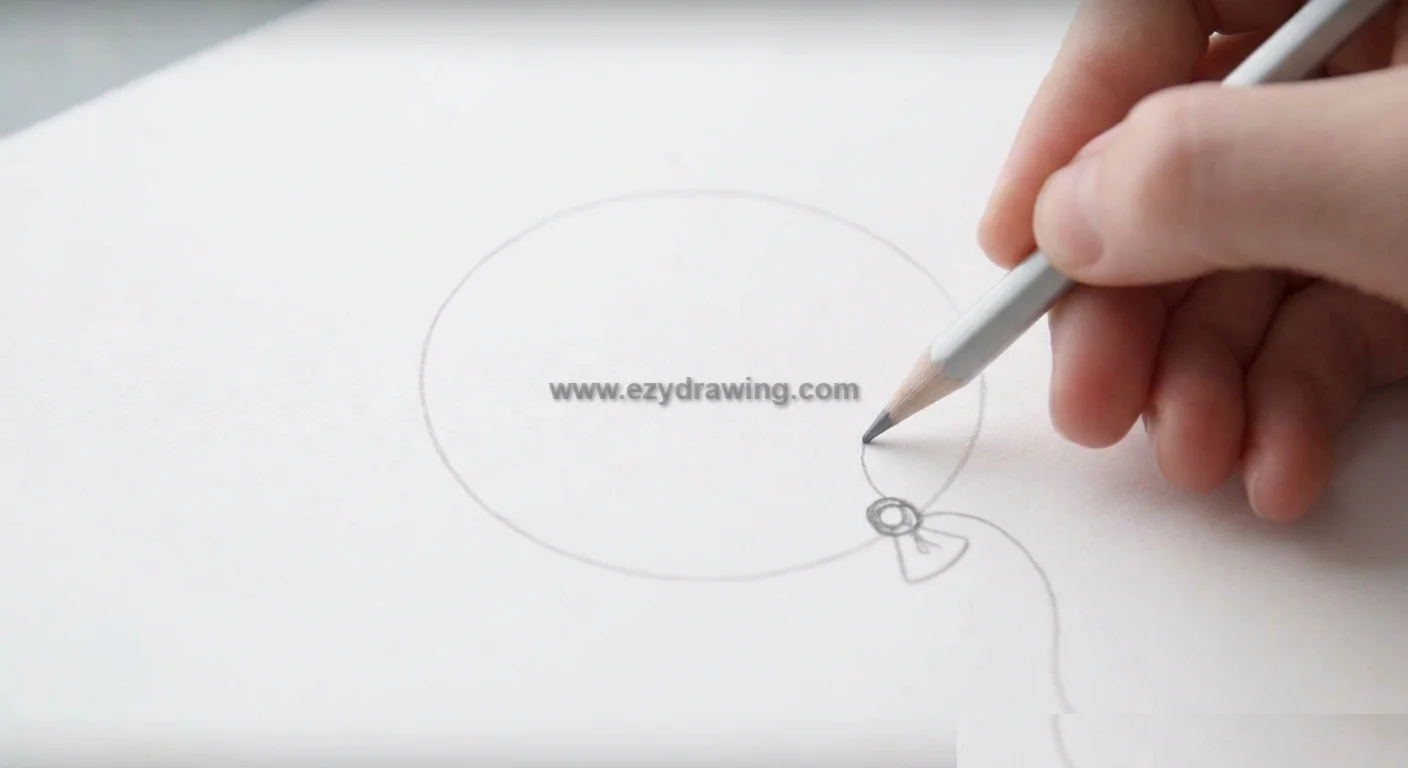
A balloon needs a way to be held! Extend a long, subtle, curving line downward from the bottom of the knot (established in Step 3). Don’t make this line perfectly straight; a slight, natural curve makes it look like a light string reacting to gravity or a gentle breeze.
Step 5: Detailing the Highlight Shine
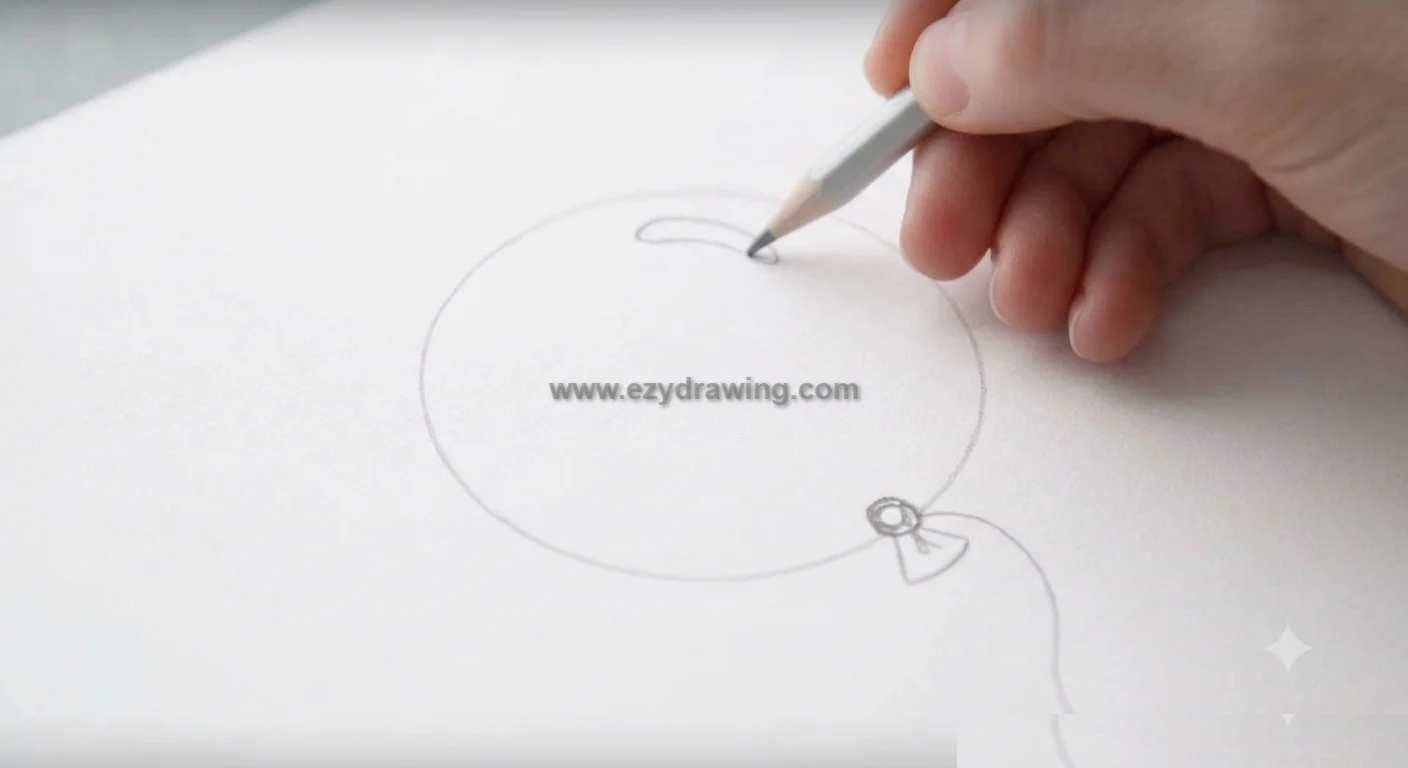
To make the balloon look three-dimensional and made of shiny latex, we must add a highlight. Near the top-left curve of the main circle, draw a small, curved shape, like a crescent moon or a simple oval ‘blob.’ This area will remain white (or the paper color) to represent light reflecting off the glossy surface.
Step 6: Applying Final Color and Shading
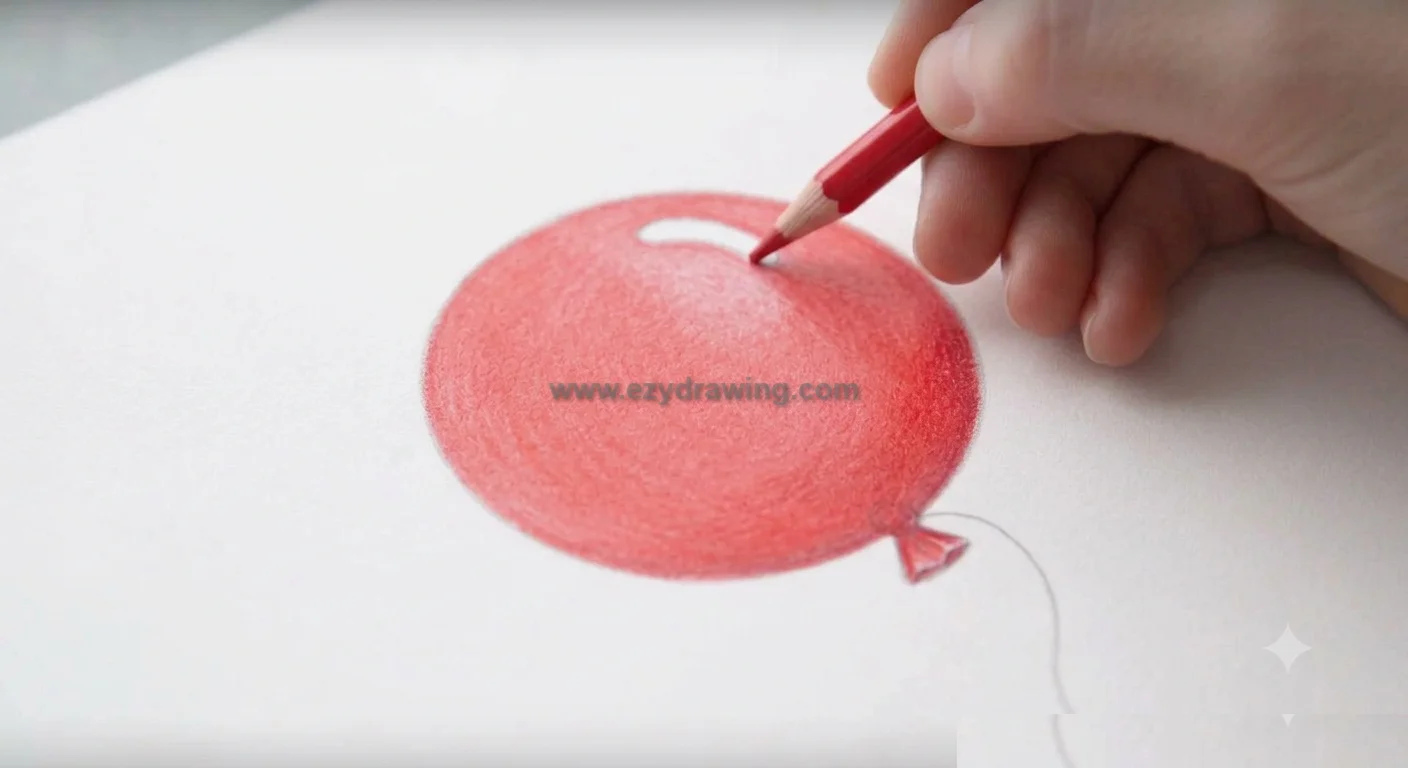
This is the final transformation! Choose a bright color (like the red used in the sequence) and fill the entire balloon, except for the highlight area you drew in Step 5. Leave that area white. To add depth, apply slightly heavier color or gentle shading along the bottom and right edges of the balloon, opposite the light source (the highlight). This final touch makes the balloon look rounded and fully inflated.
Tutorial Summary and Conclusion
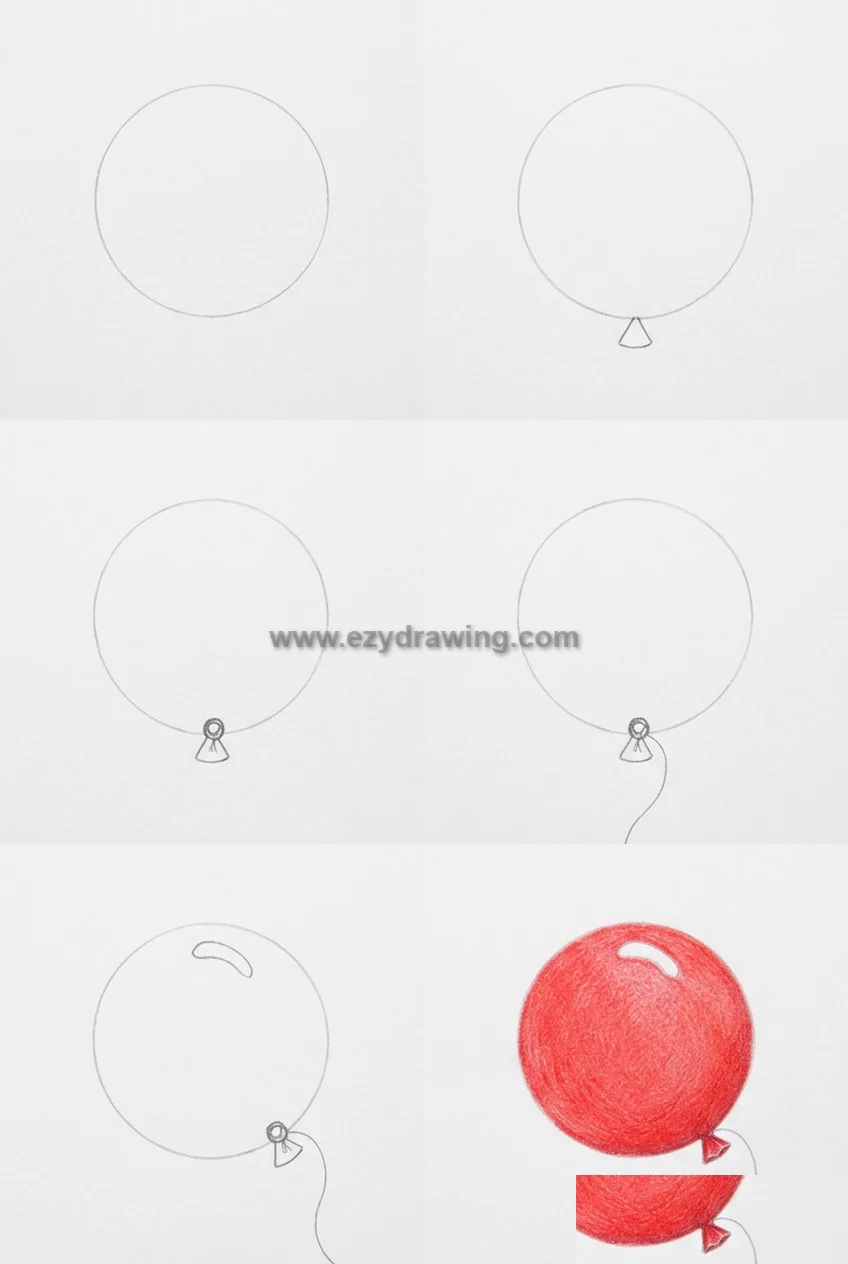
Congratulations! You have successfully completed the tutorial on How To Draw Balloon. By breaking the process down into six simple steps—starting with a basic circle, adding the structural neck and knot, attaching the fluid string, and finalizing with a realistic highlight and vibrant color—you have created a cheerful, three-dimensional balloon.
The final image provided below summarizes the entire sequence for you in a single 2:3 vertical guide. This overview allows you to compare each step side-by-side. Notice how the simple circle (Step 1) evolves symmetrically as details and definition are added in subsequent steps. The final colored result (Step 6) clearly shows the ‘pop’ that the highlight and smooth shading provide.
Drawing is about patience and practice. Now that you know the fundamentals of How To Draw Balloon, try experimenting with different colors, varied string curves, or even drawing a whole bunch of balloons floating together! Keep sketching!
How To Draw A Candle
How To Draw Leaf
How to Draw Unicorns
How To Draw dinosaurs
How to Draw a Monkey