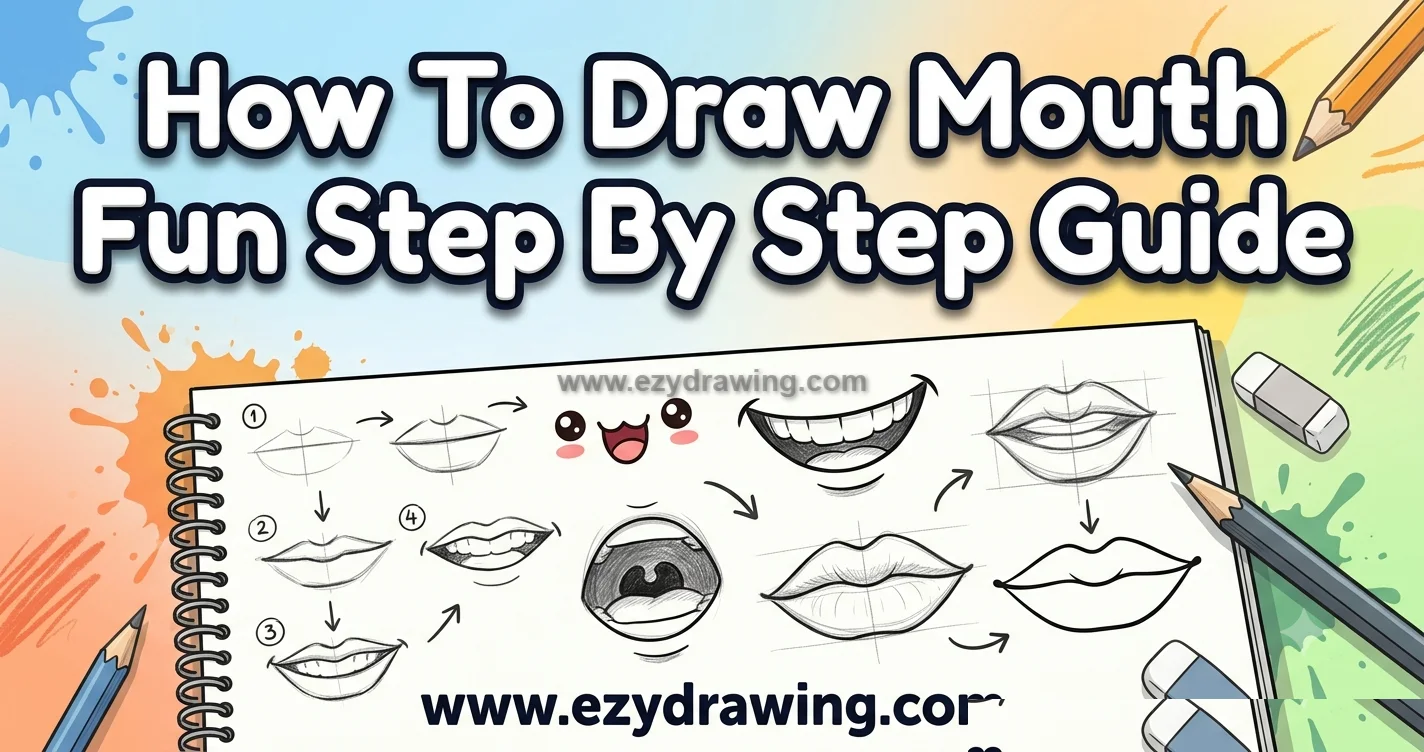
How To Draw Mouth Fun Step By Step Guide
Welcome to this comprehensive tutorial on How To Draw Mouth. The mouth is one of the most expressive features of the human face, second only to the eyes. While capturing its form can seem daunting, breaking it down into simple, structural steps makes the process manageable and repeatable.
In this guide, we will move away from simple outlines and focus on building volume, understanding how highlight and shadow define the lips.
Whether you are drawing a portrait or designing a character, mastering this feature is essential. This tutorial also helps you understand how to draw smoother facial details with better shape, balance, and confidence. Let’s begin.
Learn the Basics of Drawing a Mouth
Learn the Basics of Drawing a Mouth is a simple and helpful tutorial for kids, beginners, and new artists who want to learn mouth drawing with clear and easy methods.
In this guide, you will understand how to create the basic mouth shape, draw the upper and lower lips, add smooth curves, and finish the sketch with clean details. This beginner-friendly drawing lesson makes it easier to practice facial features and improve your sketching confidence step by step. With mouth drawing easy tips, beginners can follow each part more clearly and create a neat lip sketch with confidence. Now, let’s move to the steps.
Step 1: The Foundation Line

We start every mouth with a clean, centered horizontal guideline on a plain white canvas. This first line is critical as it establishes the width and symmetry of the mouth. It is not just a straight line; it represents the aperture—the division where the upper and lower lips meet. This simple construction line is the anchor for everything that follows.
Figure 1: The initial construction line drawn on the canvas.
Step 2: Defining the Cupids Bow
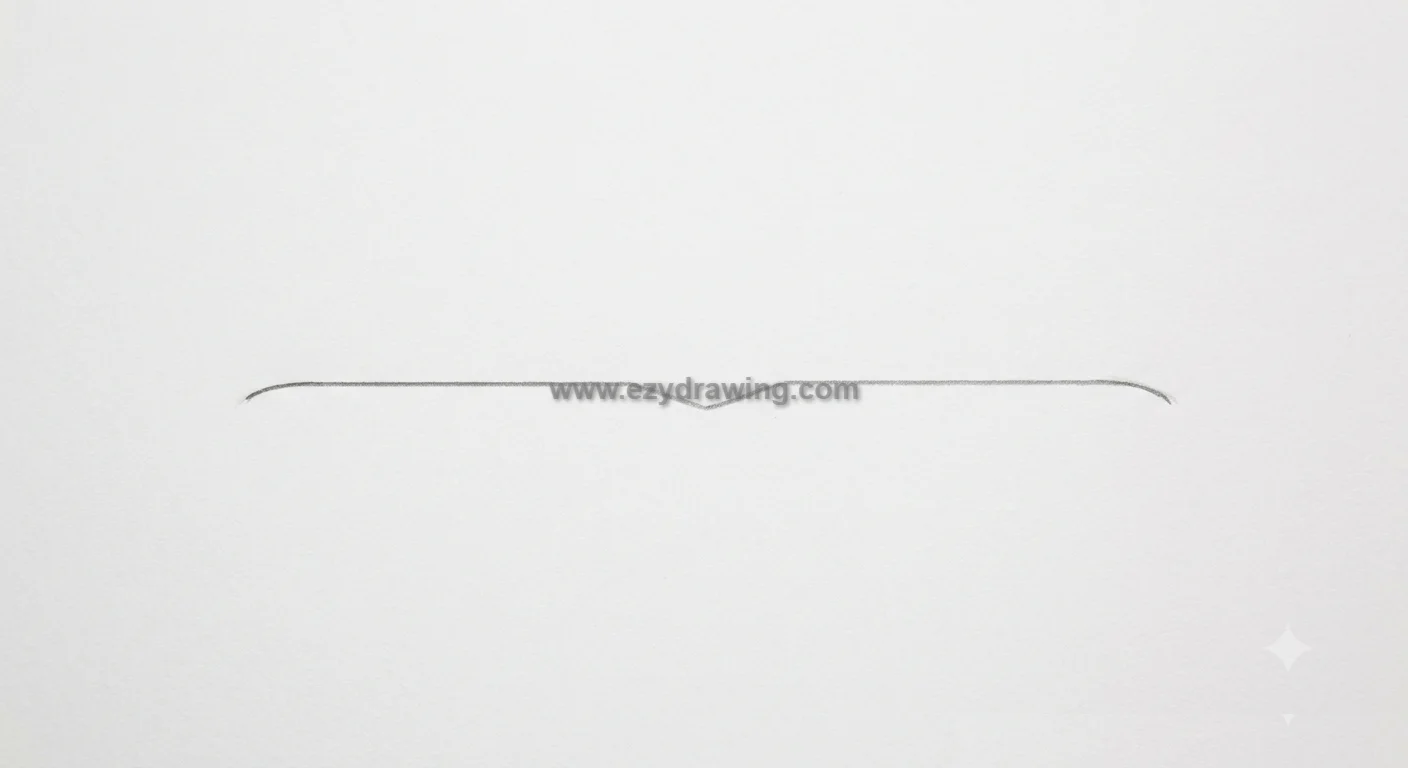
The most defining feature of the upper lip is the Cupid’s Bow. Using the horizontal line from Step 1 as our base, we now lightly sketch a soft, shallow ‘V’ shape centered on that line. Simultaneously, we refine the ends of the center line, drawing them slightly downward to mark the commissures (the corners) of the mouth. The structure is beginning to form.
Figure 2: The Cupid’s bow and the mouth corners are defined relative to the established center line.
Step 3: Creating the Upper Lip Volume
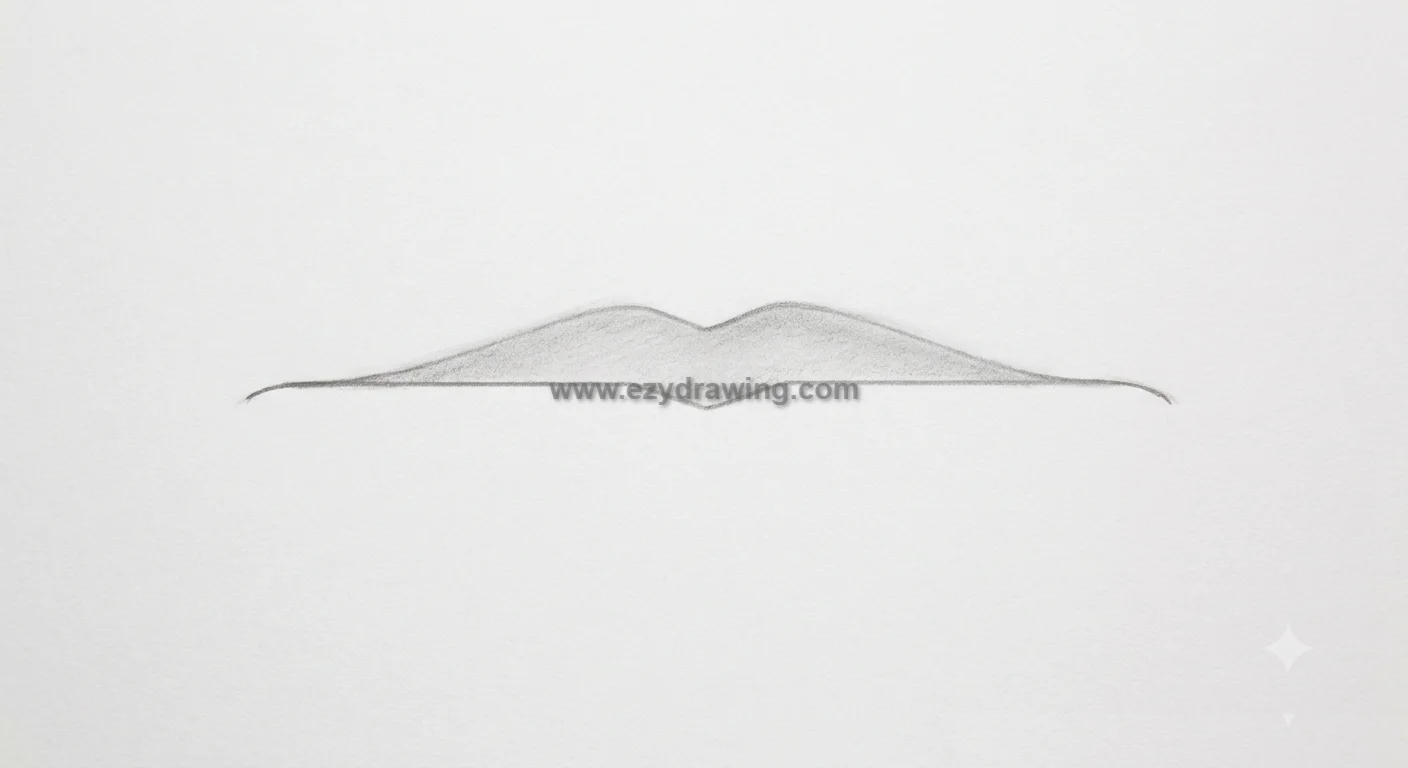
We now establish the volume of the upper lip. This is not done with a continuous, hard outline. Instead, we use very soft graphite (retaining the light aesthetic of the previous steps) to lightly shade the area above the center line. This shading connects the ‘V’ of the Cupid’s bow to the mouth corners. We are defining the plane where the upper lip begins to turn inward toward the mouth.
Figure 3: Soft graphite shading is applied to define the volume of the upper lip; there are no hard outlines.
Step 4: Defining the Lower Lip Contour
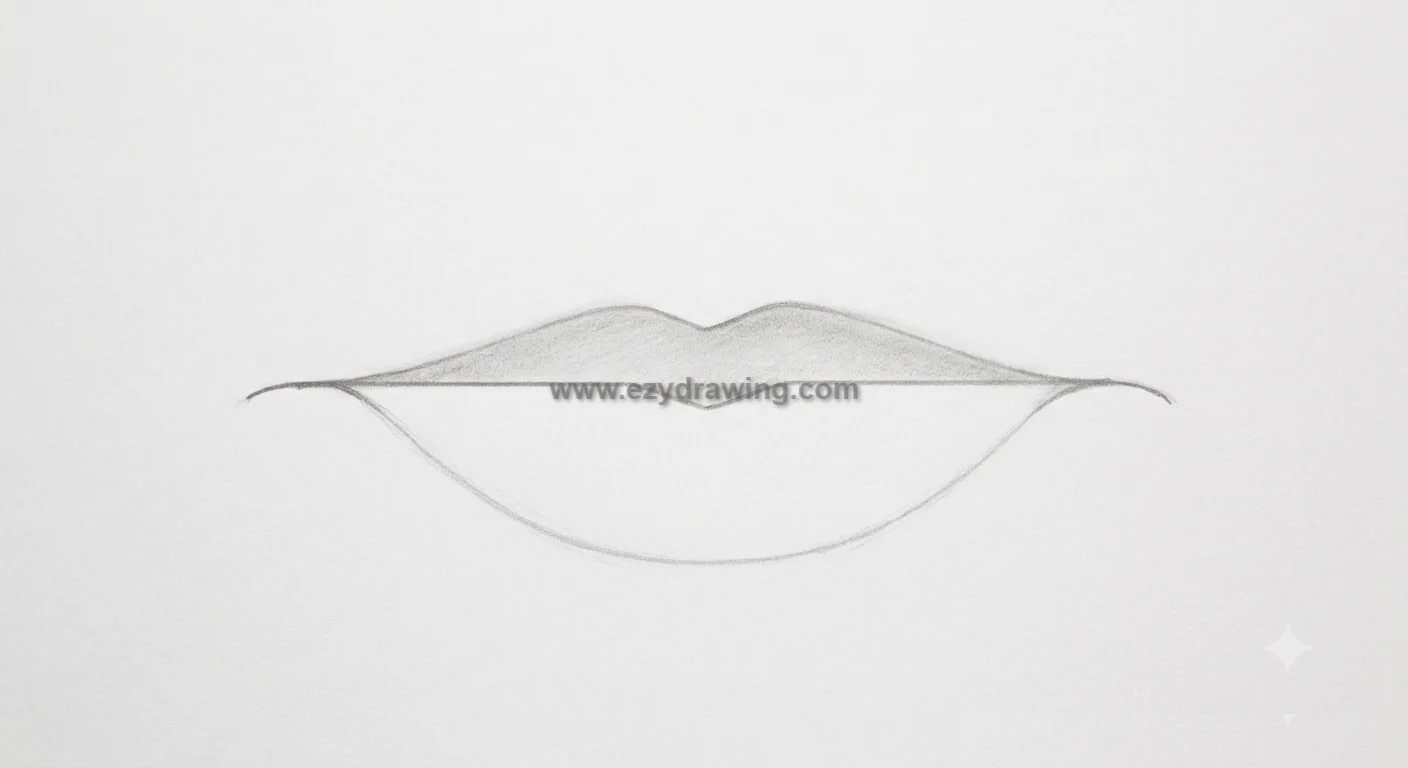
With the upper lip structure defined, we now establish the lower lip. On the same canvas, below the established structure, we lightly sketch a single, broad, sweeping curve. This curve connects the two outer corners of the mouth (established in Step 2). The lower lip is generally fuller and softer than the upper, and this simple curve defines its boundary.
Figure 4: A light, sweeping graphite curve is added to establish the lower lip boundary, completing the basic linear structure.
Step 5: Establishing Light and Depth
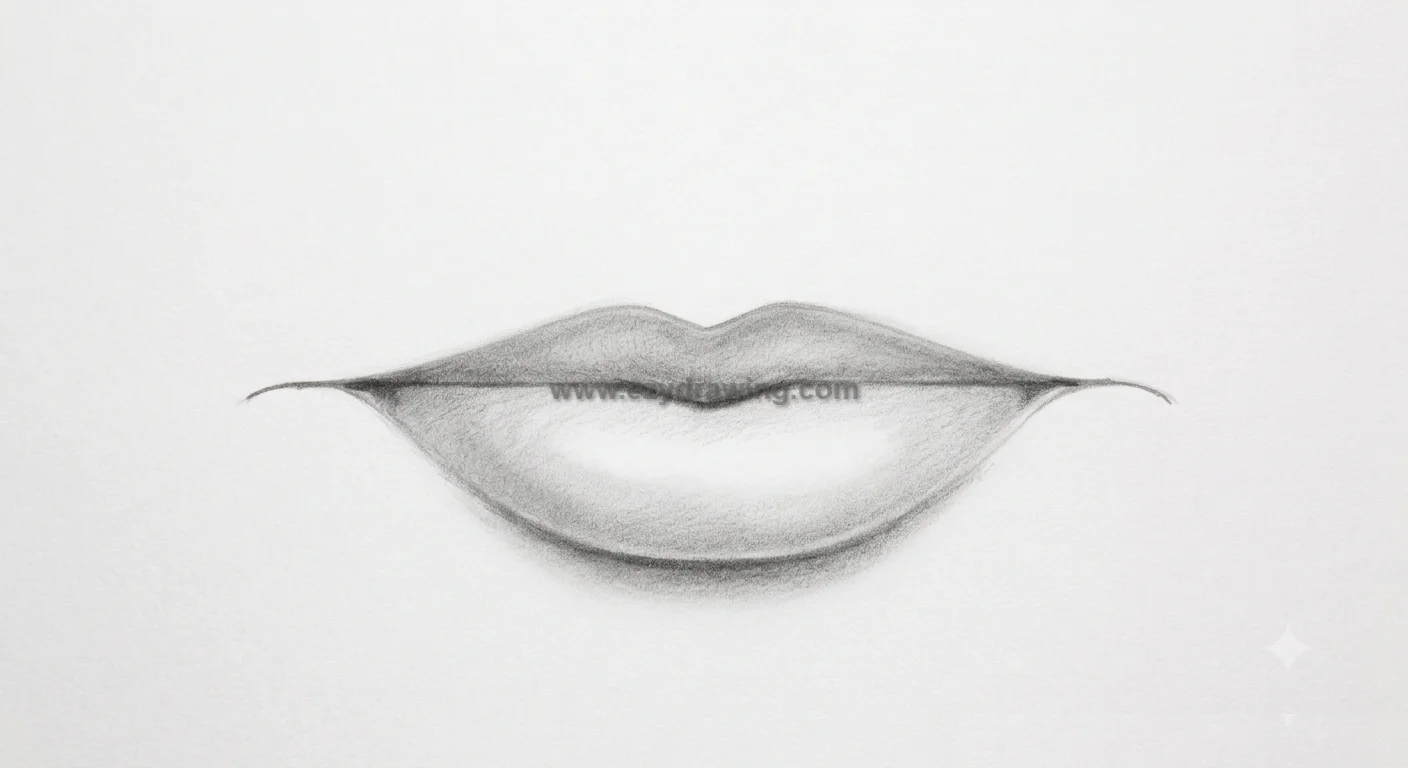
This is the transition from a line drawing to a form. We apply diffuse, directional light (coming from the upper left, consistent with previous steps) to define the three-dimensional volume. The center aperture line (from Step 1) is now heavily darkened, as this area is in deep shadow. A soft, defining core shadow is added just below the lower lip’s edge, casting it slightly into depth. Simultaneously, the first clear highlights appear on the fleshy “pillows” of the lower lip. Hard outlines are beginning to dissolve into shaded forms.
Figure 5: Lighting defines the volume. The center line is darkened, and soft shading creates depth, dissolving the initial hard outlines.
Step 6: Refinement and Texture
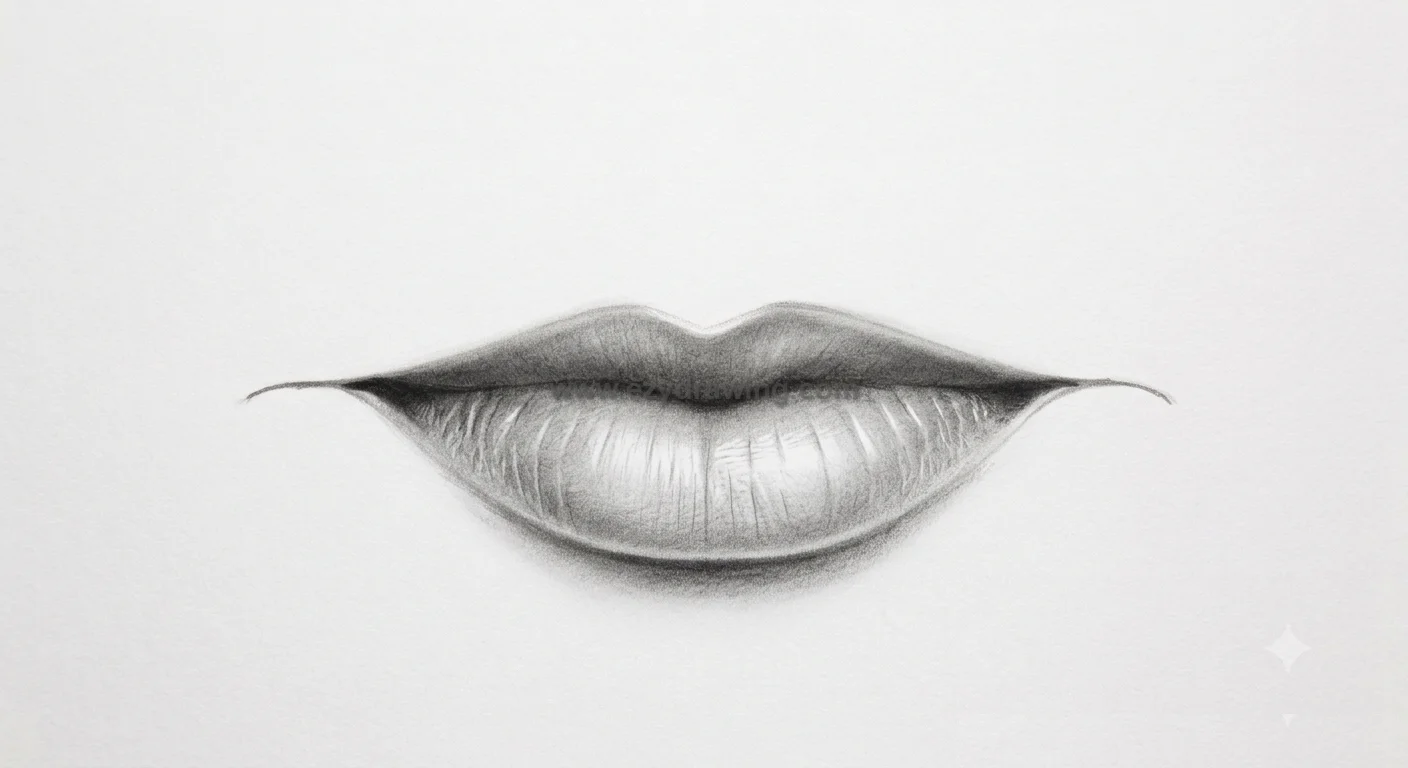
The final step is about detail and blending. We now refine the shading, ensuring the transition from light to shadow is smooth, creating a soft, realistic texture. The harsh construction lines from Steps 1 through 4 are completely gone, replaced by tonal rendering.
We add characteristic details: fine vertical wrinkles (striae) are softly etched onto the lower lip, breaking up the smooth shading. The central aperture is darkened to its maximum depth, and crisp highlights are finalized on the Cupid’s bow and the lower lip’s edge. This stage completes the How To Draw Mouth process with realistic depth, texture, and smooth graphite finishing. The result is a completed, volumetric graphite drawing.
Figure 6: The finished drawing. Volume is finalized with smooth blending, vertical striae are added for texture, and hard outlines are dissolved.
Step Summary: All 6 Steps
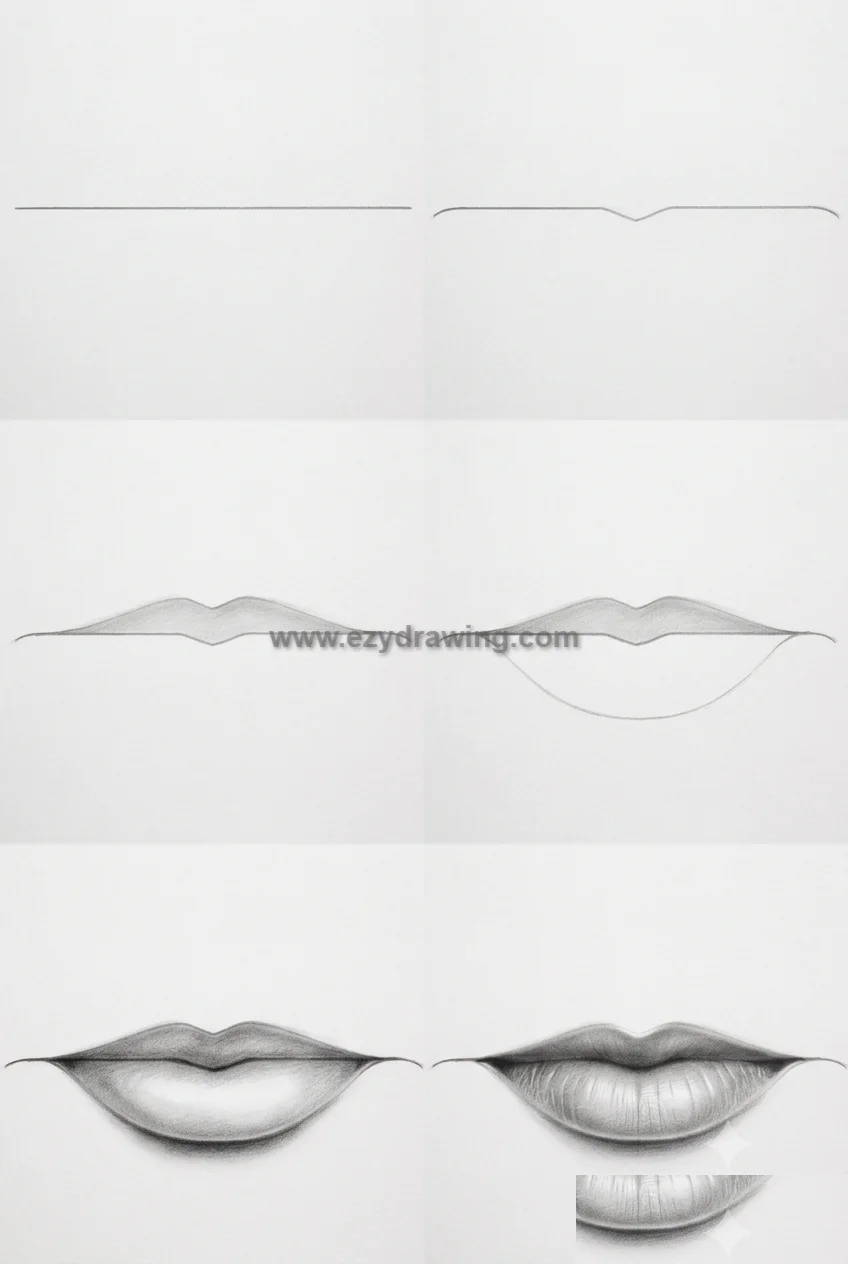
The following composite image (presented in a 2:3 vertical aspect ratio) shows all six stages of the drawing, allowing you to quickly visualize the transition from the foundational line to the finished, textured rendering. Note how the structure established in the first four panels is essential for the rendering in the final two.
Figure 7: Summary of all 6 steps showing the transition from line to form.
Conclusion
By following this structural approach, you now have a repeatable process for How To Draw Mouth. Remember that you are not just drawing flat outlines; you are defining volumetric planes that interact with light. The first four steps build the invisible skeleton, and the final two steps apply the “skin” using light and shadow.
The difference between an amateur drawing and a realistic one is often just the soft blending of those initial hard construction lines. Practice these structural blocks, study different expressions, and you will find that drawing realistic mouths becomes intuitive.
How To Draw Balloon
How To Draw A Candle
How To Draw Leaf
How to Draw Unicorns
How To Draw dinosaurs