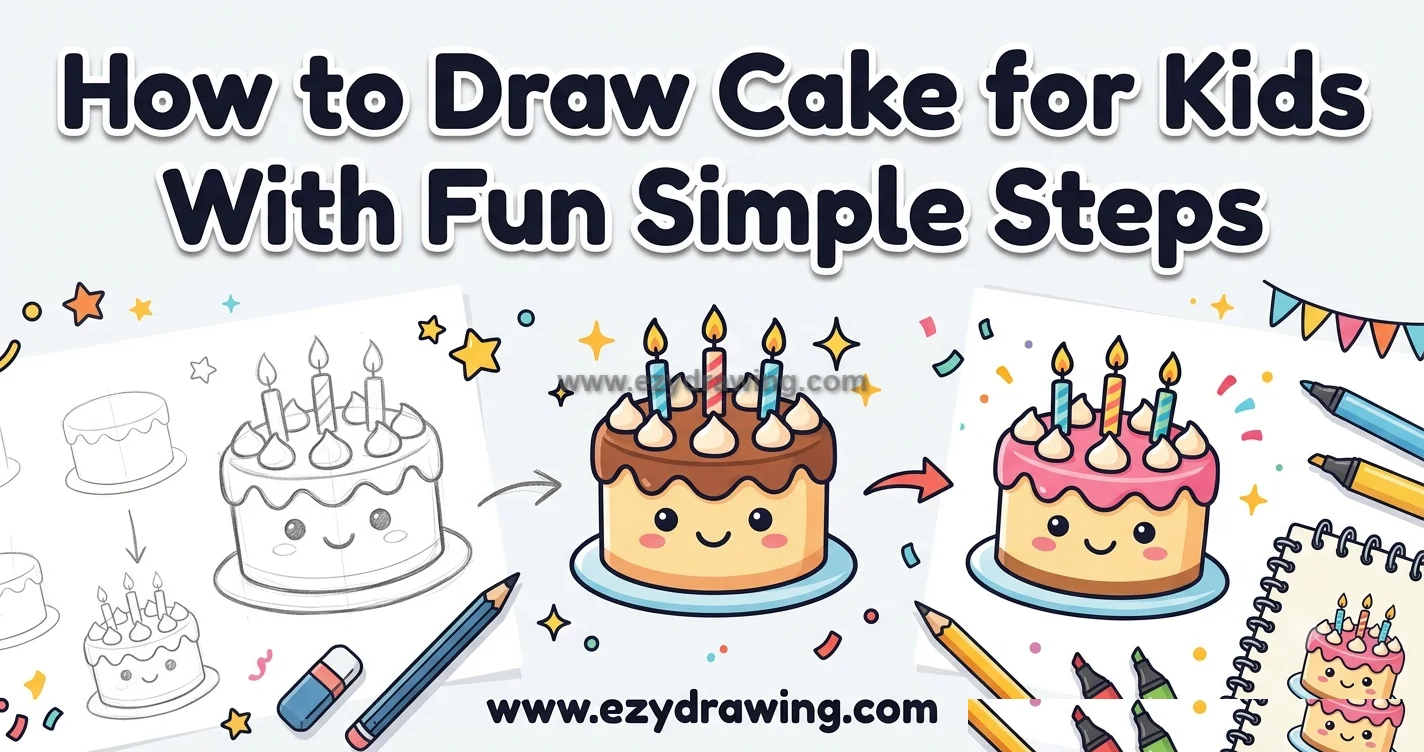
How to Draw Cake for Kids With Fun Simple Steps
Welcome to this tutorial where we’ll dive into the delightful world of cake drawing! If you’ve ever wondered how to draw cake that looks delicious and festive, you’ve come to the right place.
This guide also provides a simple approach to how to draw cake for kids, making each step enjoyable and easy to follow. Learning a cake drawing technique is fantastic because it’s a versatile subject—perfect for birthdays, celebrations, or just practicing your artistic skills.
We will focus on a birthday cake drawing because it’s a timeless classic. We’ll break it down into an easy cake drawing process, keeping the shapes simple for an effective, simple cake drawing.
This approach makes it a cute cake drawing and is especially suitable for a cake drawing for kids. Our goal is to show you how to draw a birthday cake step by step, making the process manageable and fun for all skill levels.
Before we begin, you will need:
- Paper
- A pencil and an eraser
- A black fine-liner pen (for outlining)
- Colors (colored pencils, markers, or crayons)
Phase 1: The Step-by-Step Drawing Process
All the final process images are rendered as clean, simple, black and white line drawings for maximum clarity. This visual style makes the birthday cake easy to understand and recreate. The camera is positioned directly in front of the subject for each step.
Step 1: Laying the Foundation The Basic Tiers
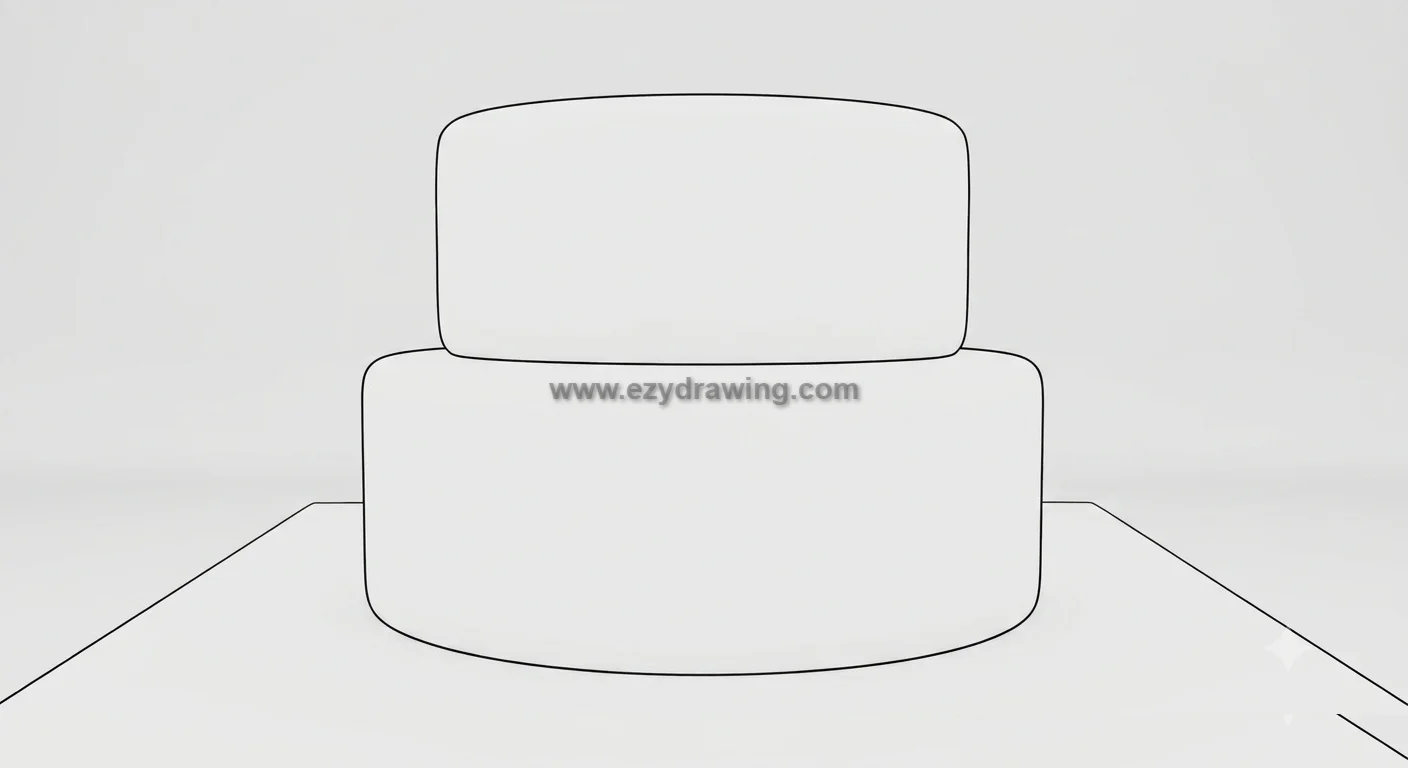
We start building our cake from the ground up, focusing on a robust cake line drawing structure. In this step, we establish the core, repeating forms of a stacked cake.
Action: Draw two large, slightly rounded rectangular shapes, stacked one on top of the other. The base block should be slightly wider than the one above it.
This vertical structure represents the main sponge tiers of the cake. Keep these initial lines very light, as they will be defined and detailed in subsequent stages.
Step 2: Adding Details to the Tiers The Stand and Frosting
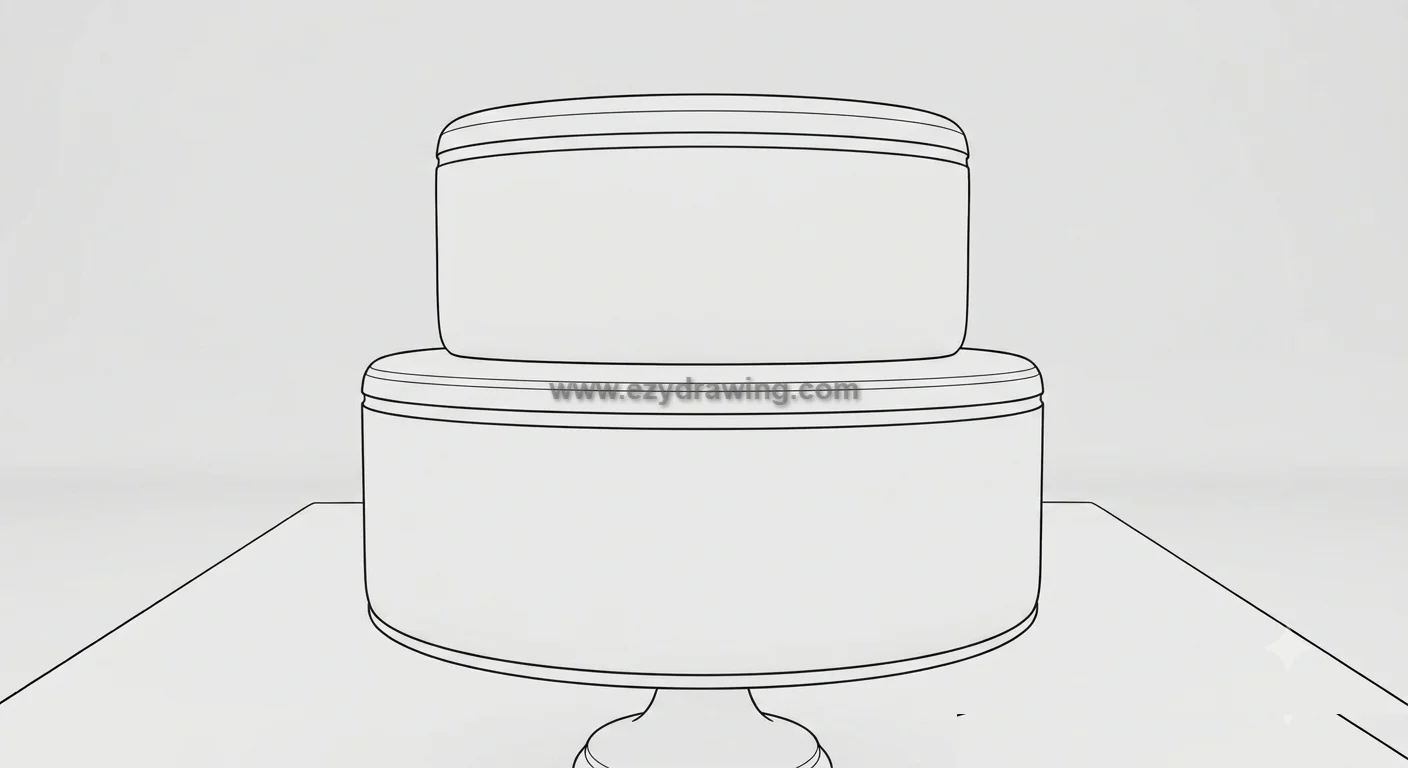
Now that the basic structure is present image 0, we need to give the cake some character and stability. We’ll add the essential cake stand and begin to define the layers of the frosting.
Action: First, draw a pedestal stand beneath the larger bottom tier established in image 0. It should have a flat circular base and a simple, curved stem.
Next, draw soft, slightly wobbly horizontal lines near the top of each rectangular block. These lines represent the delicious layer of frosting that often separates tiers or coats the top.
Use the same gentle line control you might practice in a balloon drawing to keep the curves smooth and natural. Ensure these new details integrate seamlessly with the structure from Step 1.
Step 3: Its All About the Drip and a Candle
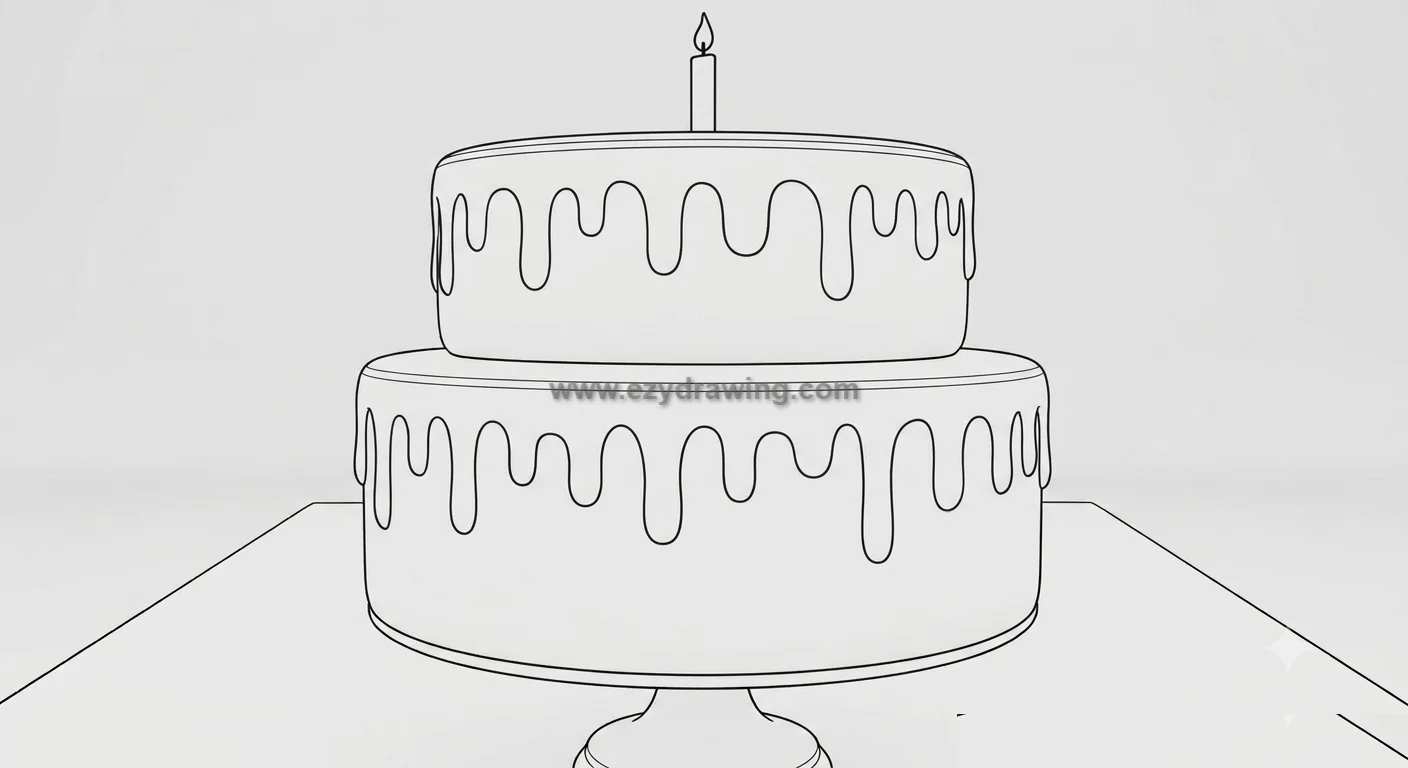
With the cake tiers structured and defined on the stand image 1, we are ready to introduce some fluid texture and a central focal point. This step adds a lot of visual interest and makes the drawing feel dynamic.
Action: Starting from the top edge of both tiers defined in image 1, draw irregular, rounded “U” shapes that hang down vertically. These look like thick, delicious frosting drips cascading down the sides. Use the same smooth line control found in a simple candle drawing to keep each drip neat and balanced.
This technique is often associated with a chocolate cake drawing or perhaps a rich strawberry cake drawing glaze. On the very top center of the cake, add a simple vertical rectangle topped with a small flame shape to represent a single birthday candle.
Step 4: Frosting Swirls and Pattern Foundations
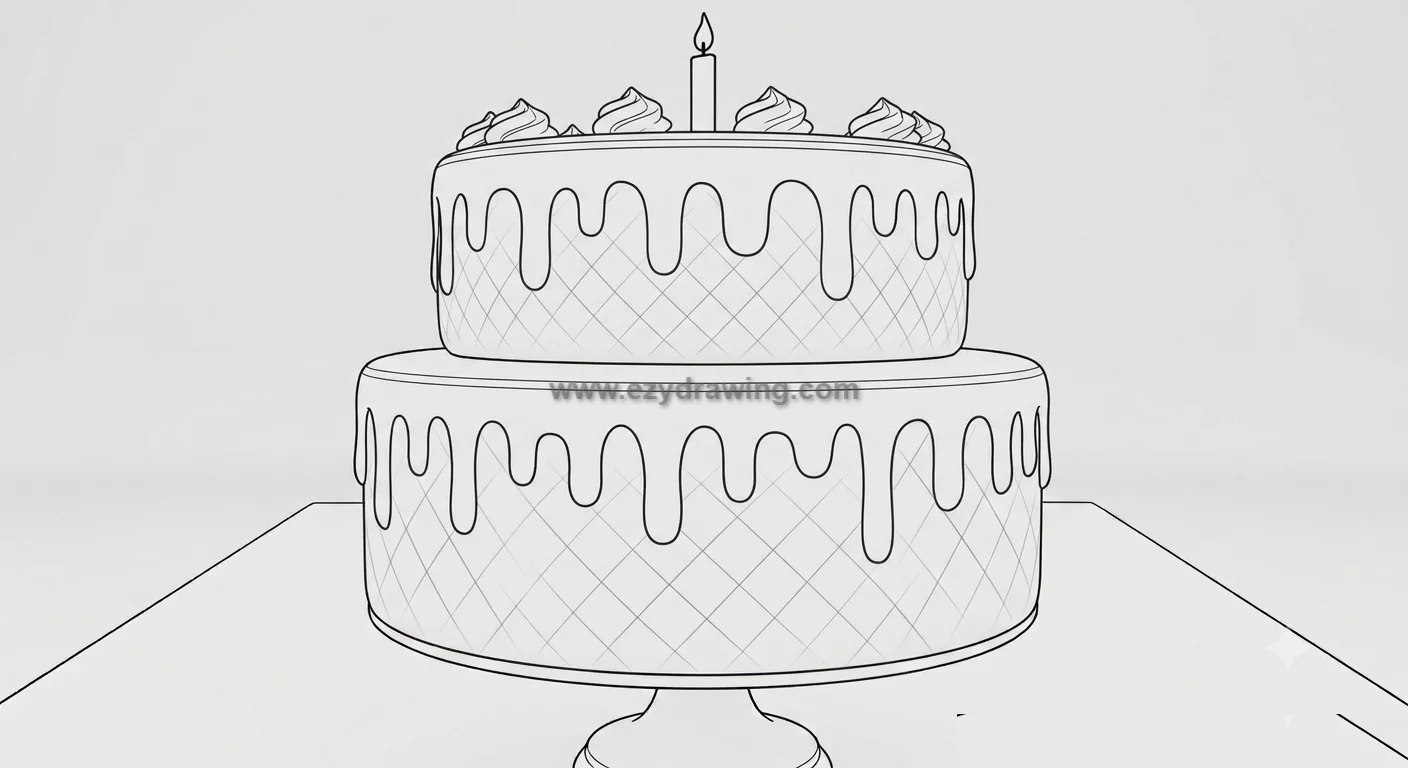
The cake structure, stand, and drips are now established image 2. We must now refine the textures and plan the decoration. This is a crucial step in transforming the basic blocks into a decorated masterpiece, giving it a cartoon cake drawing feel.
Action: On the very top of the top tier (the flat surface around the candle from image 2, draw several simple, tight spiral shapes.
These represent decorative frosting swirls. Next, softly draw faint, diagonal cross-hatch grid lines only on the vertical faces of the cake tiers below the drips.
This is a foundational guide pattern that we will use in the next step to place smaller decorations. Maintain the clean lines established in image 2.
Step 5: Decorative Details and Finalizing the Polka Dots
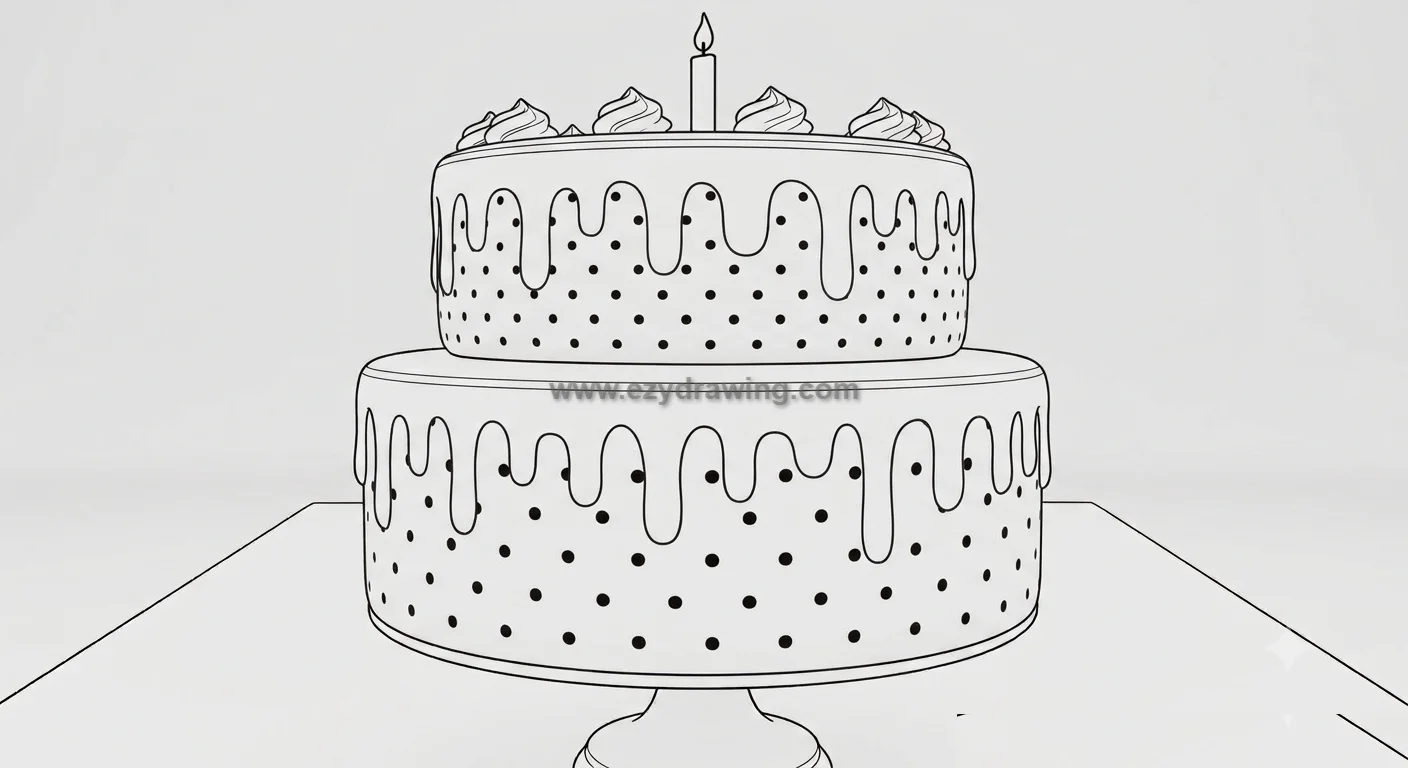
We are nearing the end of the drawing phase. The structure, drips, swirls, and the guide pattern are all set image 3. Now we add the final festive small details to make this a truly cute cake drawing.
Action: Using the cross-hatch guide from image 3, place small, dark, solid circles (polka dots) where the faint guide lines intersect on the vertical faces of both tiers. Once the dots are placed, mentally erase or ignore the faint diagonal grid lines.
Finally, add small, simple flame details to the tips of the frosting swirls on the very top of the cake. The complex decoration is now complete, built perfectly on the structure from Step 4.
Step 6: Full Color and Final Polish
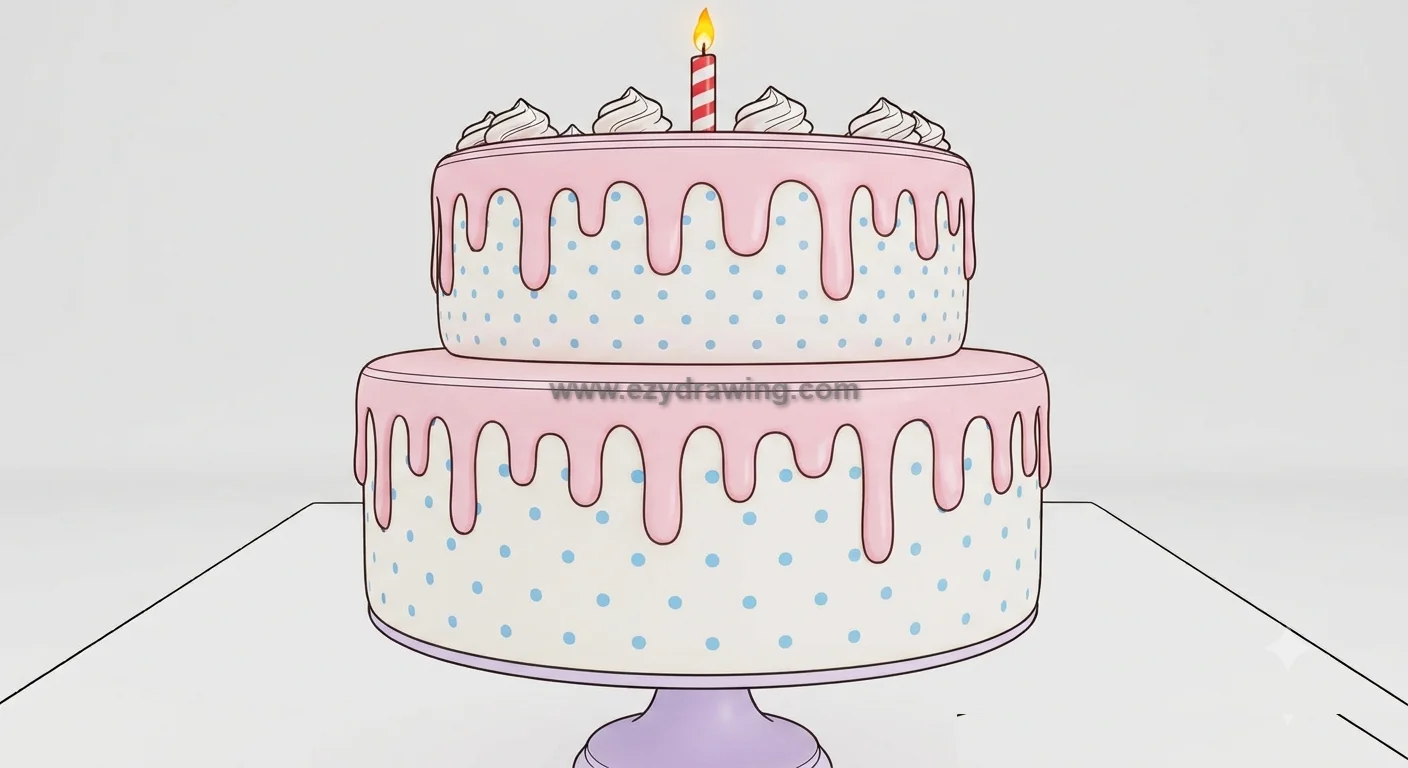
The previous five steps were all about building the structure and details in a black and white cake line drawing (image_4.png). This final step is crucial: adding vibrant color to make the cake truly appetizing and celebration-ready.
Action: This is the coloring phase! Fill the cake tiers with a soft cream or white color. Make the melting drips a contrasting pink (perhaps a strawberry flavor).
The polka dots can be light blue, and the intricate frosting swirls on top are bright white. Color the stand a soft silver or pastel purple.
Finally, give the single candle red stripes and color the flame bright yellow and orange. Ensure the colors are solid and clean, strictly adhering to the black lines established in image 4. Your cake drawing is complete!
Phase 2: Total Summary and Step Consolidation
Here is a complete visual overview of the six steps you just completed. This image is presented in a vertical 2:3 aspect ratio, clearly showing the progression from simple blocks to a finished, colorful drawing.
Comprehensive Tutorial Summary
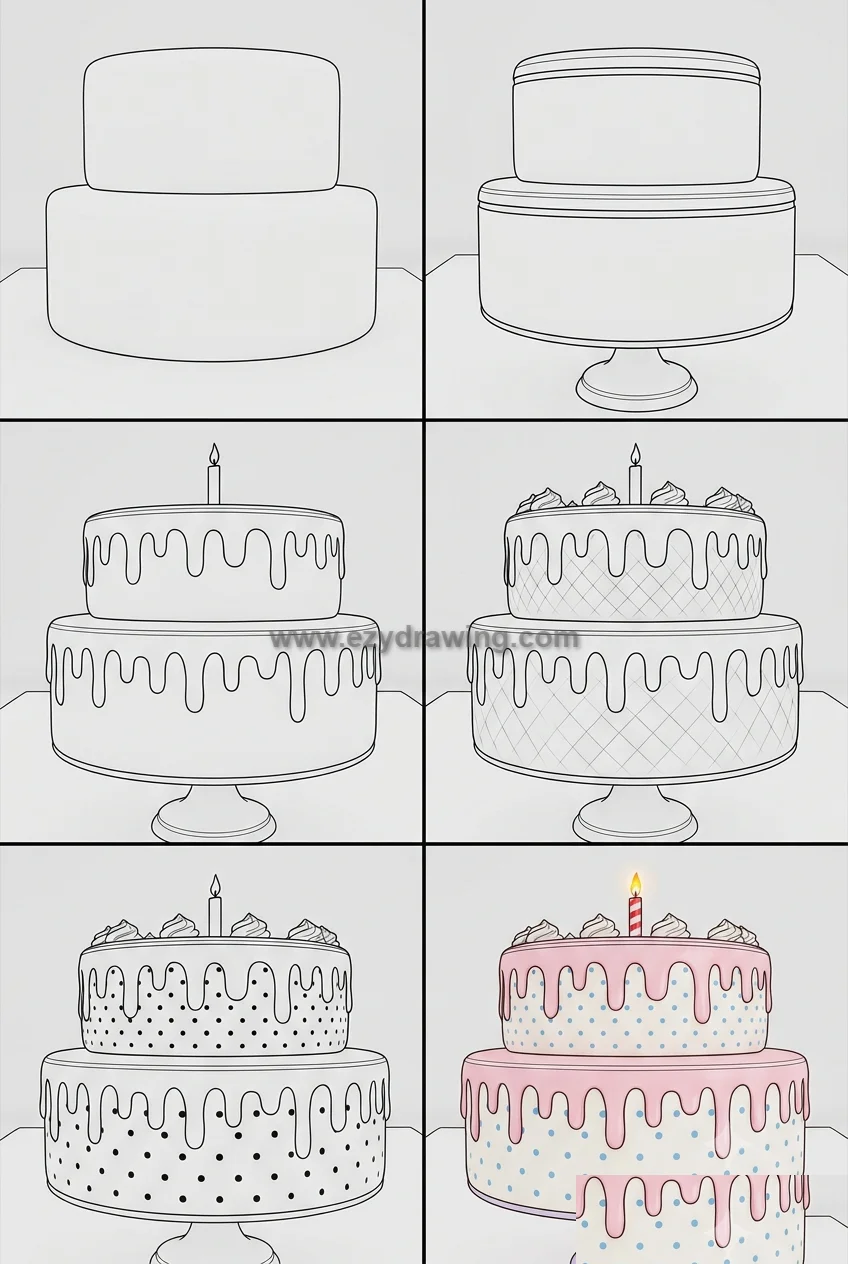
The image below functions as a single reference guide, showing how each small step builds upon the previous one, strictly maintaining the front camera angle throughout.
- Top Left (Step 1): We established the fundamental core structure using simple stacked blocks . This is the basis of our cake line drawing.
- Top Right (Step 2): The pedestal stand is added for stability, and we defined the initial frosting layers on the tiers .
- Middle Left (Step 3): Dynamic frosting drips are added to both tiers, and the single birthday candle is placed on top , vital for a birthday cake drawing.
- Middle Right (Step 4): Textural details are introduced with spirals on top, and the diagonal cross-hatch guide pattern is set .
- Bottom Left (Step 5): Using the guide, decorative polka dots are finalized, and the final top details are added (image_4.png), achieving a simple cake drawing.
- Bottom Right (Step 6): The drawing is fully colored and polished, transforming the line art into a final, cheerful illustration .
Conclusion
Congratulations on completing this tutorial! We’ve successfully navigated the process of starting with simple blocks and building them into a detailed, tiered masterpiece. By following these structured stages, you have learned the fundamentals of How To Draw Cake in an easy, repeatable way.
Whether you’re practicing a cake doodle drawing or aiming for a complete, colored illustration, this tiered approach works consistently.
Remember that every complex drawing is just a collection of simple shapes. Now that you’ve mastered this structure, you can experiment! Perhaps your next project will be a single cake slice drawing or a detailed slice of cake drawing showing the inside layers. Grab your tools and keep creating!
How to Draw Fox
How To Draw Doodles
How to Draw Portrait
How To Draw Fish
How To Draw Mouth