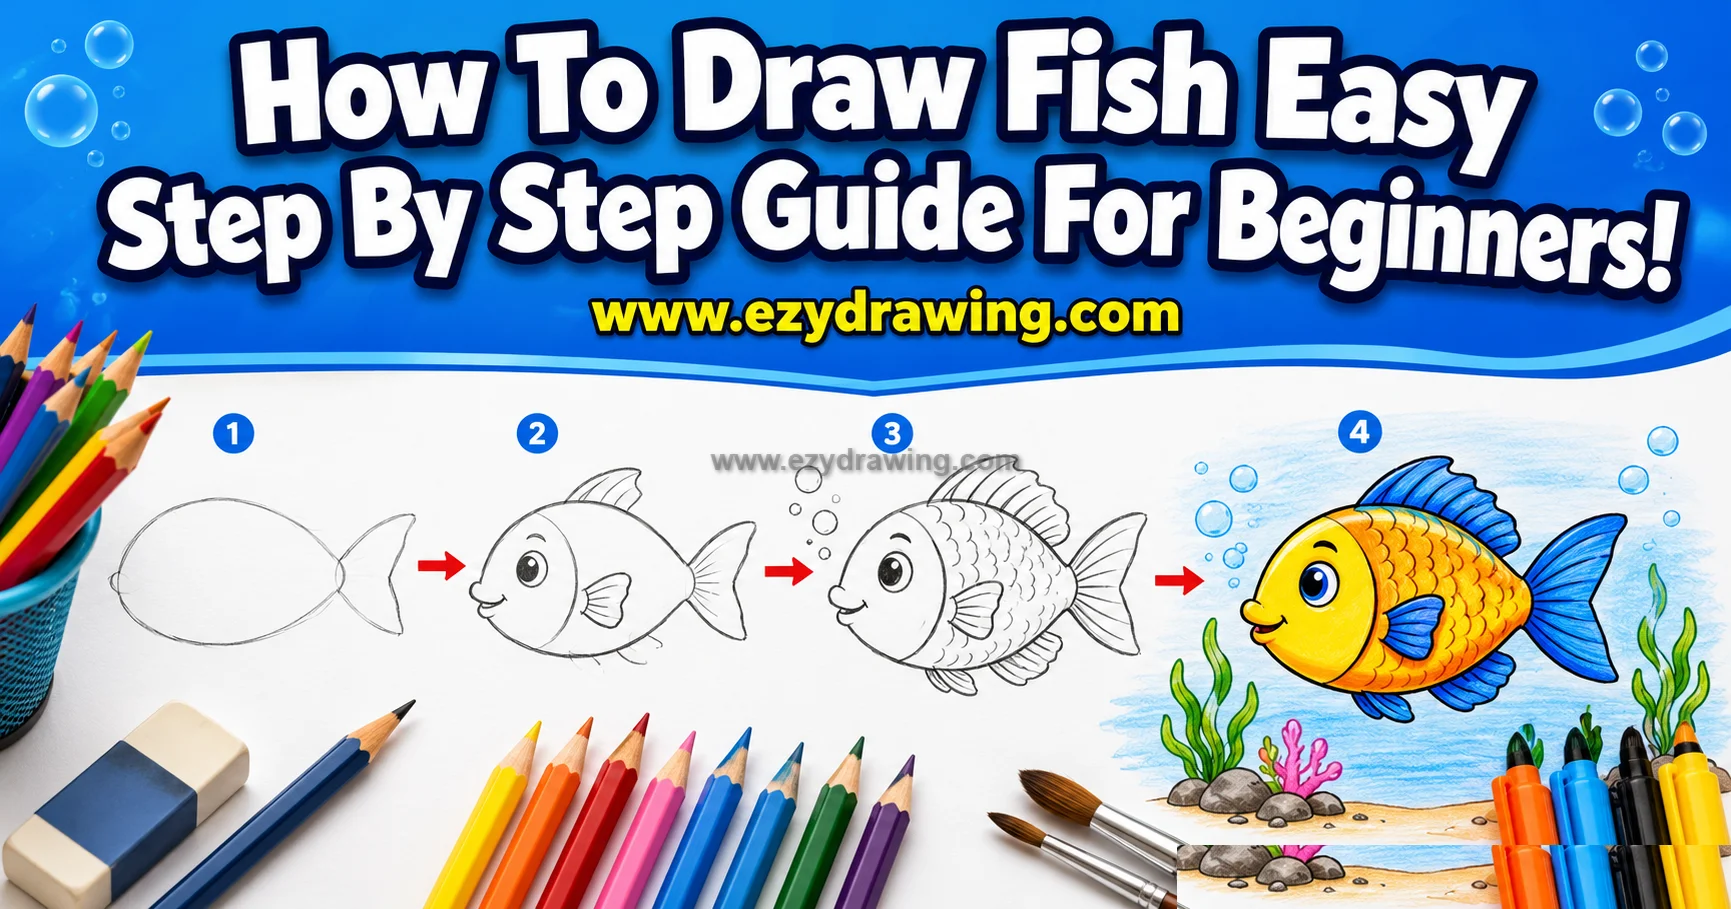
How To Draw Fish Easy Step By Step Guide For Beginners
Learning How To Draw Fish is a fundamental skill for any aspiring nature artist. Fish exhibit incredible diversity in shape and color, yet most can be constructed using simple, recurring geometric principles. Mastering this structured approach allows you to draw any species accurately.
This guide will walk you through six specific stages, slowly building a complex character (a colorful reef fish) from basic structural blocks. We will maintain a consistent front-facing angle, observing the creature from its leading profile. This how to draw method makes the full process easier to follow for beginners.
Simple Fish Drawing Instructions for Beginners
Simple Fish Drawing Instructions for Beginners is a fun and simple way for children and beginners to practice basic drawing skills. A fish drawing is perfect for young artists because it uses easy shapes like an oval body, small fins, a curved tail, and a cute eye.
With this simple tutorial, kids can learn how to create a neat fish sketch step by step while improving their hand control, line work, and creativity.
This guide makes fish drawing easy, enjoyable, and beginner-friendly, so every child can follow along with confidence while practicing drawing fish for kids in a simple way. Now, let’s move toward the steps
Step 1: The Basic Oval The Body
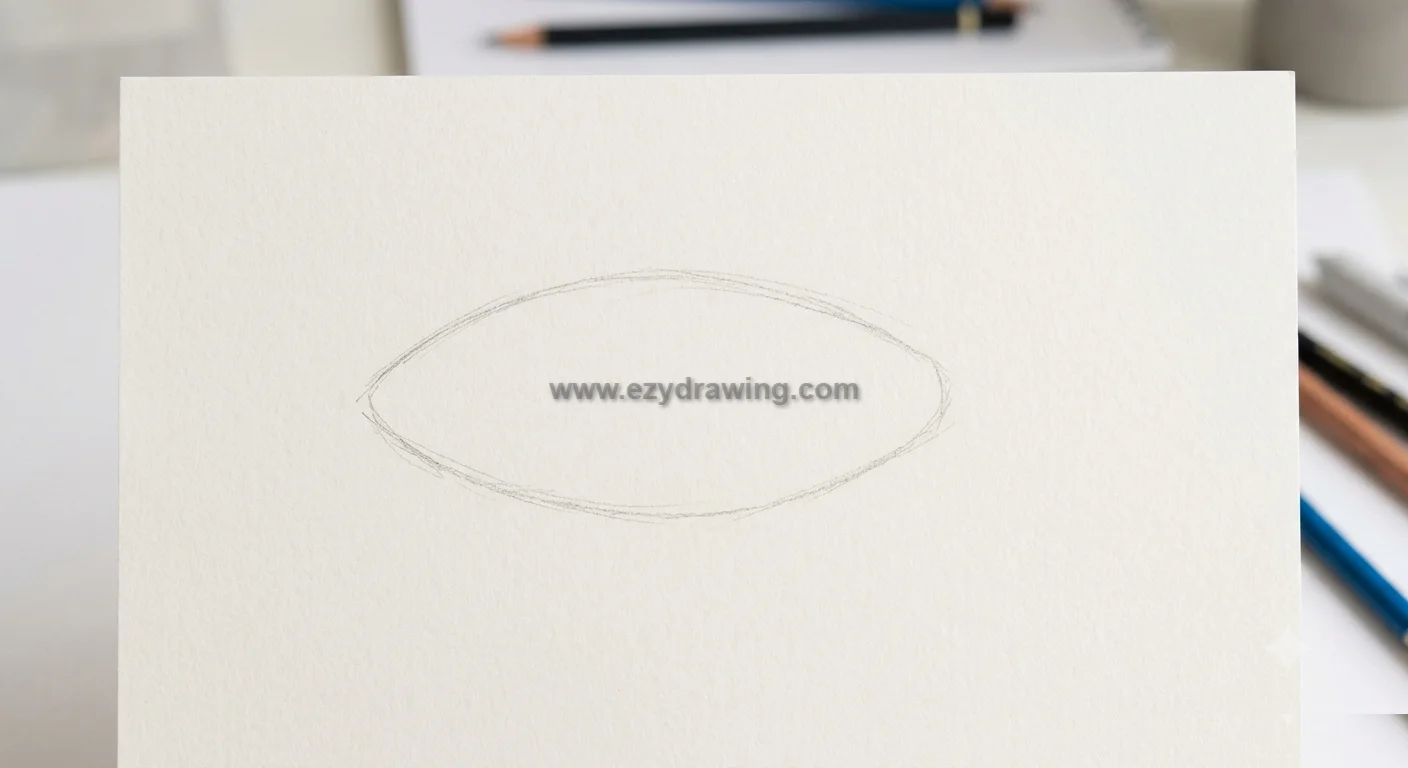
The foundation of any fish drawing begins with defining its core body shape. For this front-profile view, start by sketching a simple, slightly elongated horizontal oval in the center of your page. Do not press hard; this is a foundational guideline. This shape establishes the mass and orientation of the fish’s torso. In this how to draw fish step, keeping the oval light and simple will make the next details easier to add.
Step 2: Adding Geometric Structure Fins and Tail
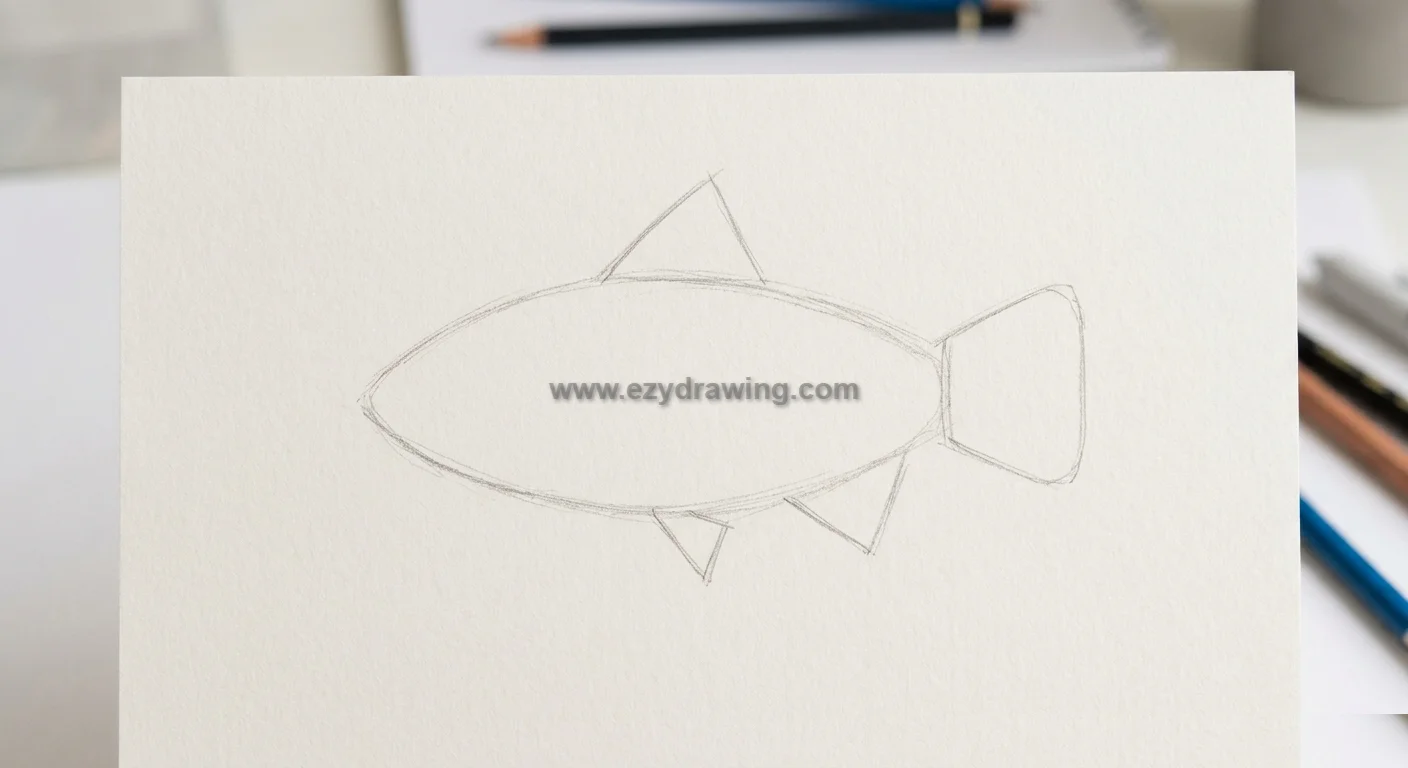
Once the main oval body is established, we map out the major appendages using simple geometry. We must maintain the front-facing perspective shown in Image 0. For this specific fish, add a soft triangle above the oval for the dorsal fin, and another below it for the anal fin. Next, define the tail structure: a small circle (the caudal peduncle) attaching to a larger triangle (the tail fin) at the rear. These geometric blocks define the fish’s architecture.
Step 3: Defining Facial Features and Gill Plate
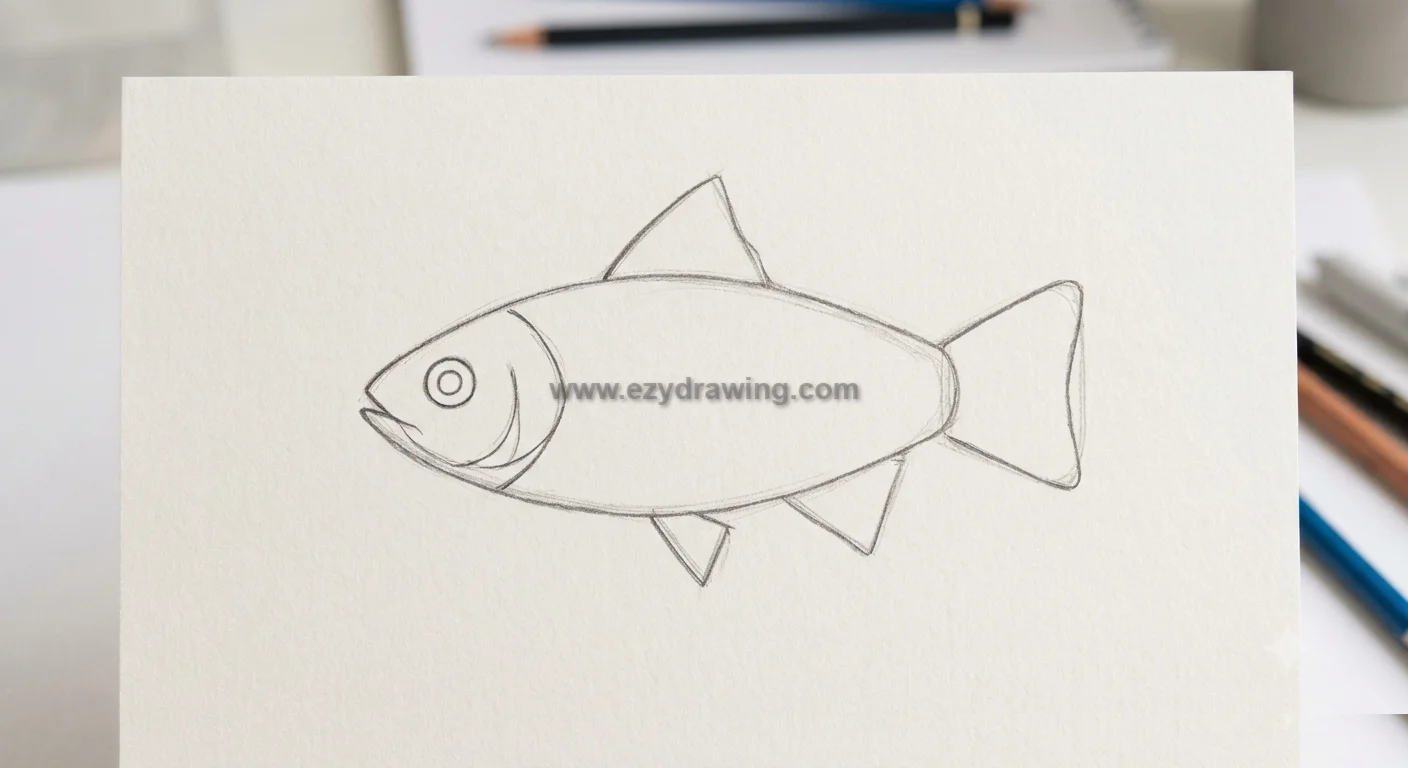
With the major structures blocked out, we can now define the face while adhering to the geometric guides from Image 1. This is a crucial step. Draw a circle for the eye near the front-left intersection of the main oval. Just ahead of the eye, sketch a small, simple ‘V’ shape to establish the mouth. Finally, draw a long, curved line—following the oval’s contours—to define the edge of the operculum (gill cover). This line separates the head from the body.
Step 4: Detailing the Fins Adding Ray Lines
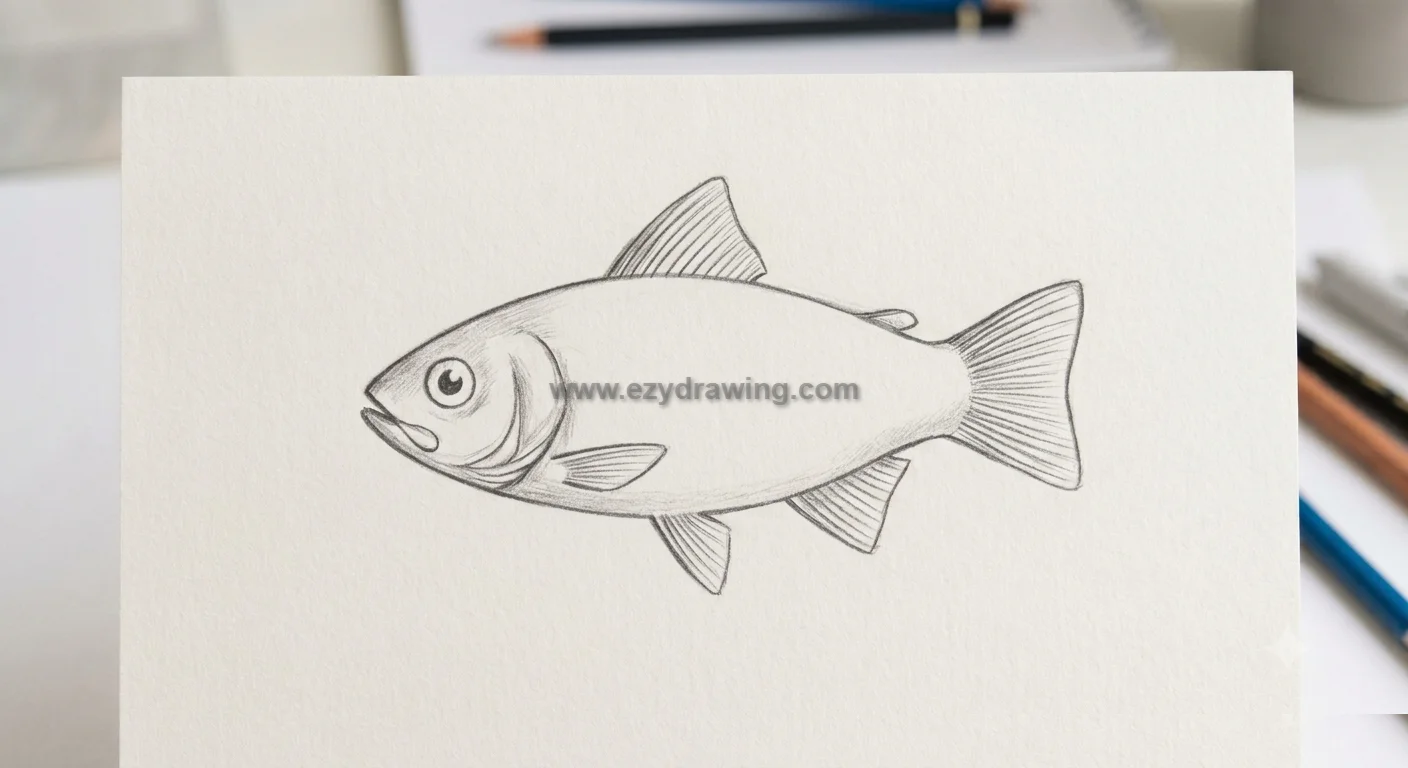
This step transitions the drawing from structural geometry to realistic texture. Look closely at the geometric fin blocks from Image 1 and the established lines in Image 2. Inside the dorsal fin triangle, the anal fin triangle, and the tail structure, begin drawing many fine, parallel graphite lines. These are the fin rays. They should follow the curvature and flow of the fin shape, giving them a flexible, organic appearance.
Step 5: Introducing Color and Pattern
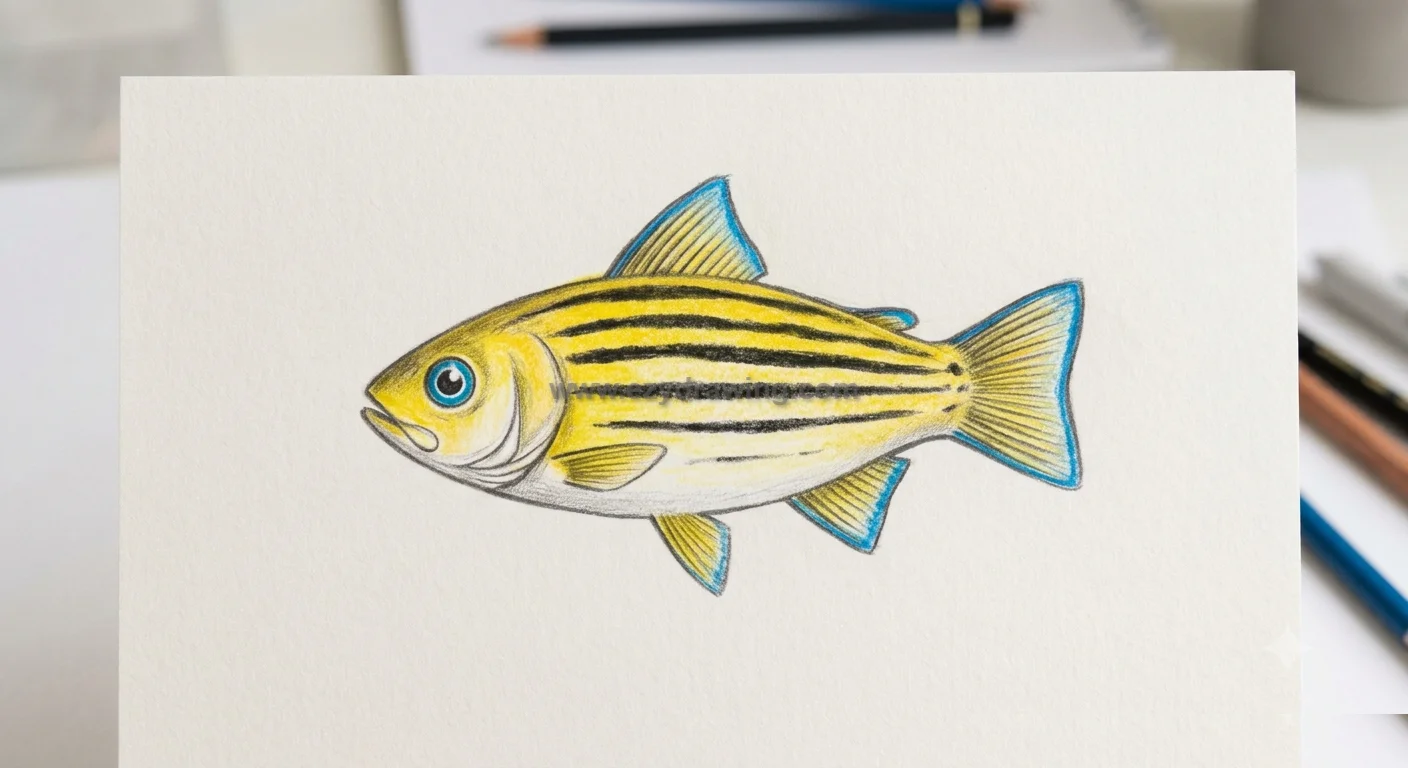
We are now ready to move beyond black and white. Using the detailed line art from Image 3 as a guide, introduce color. We are creating a tropical fish, so we apply a vibrant yellow wash to the main body oval and the primary fins (dorsal and tail). To create contrast, introduce dark (black or deep blue) pigmentation in distinct horizontal stripes along the body and within the fin structures. The lines from Image 3 must remain visible through the color.
Step 6: Final Polish and Environmental Context
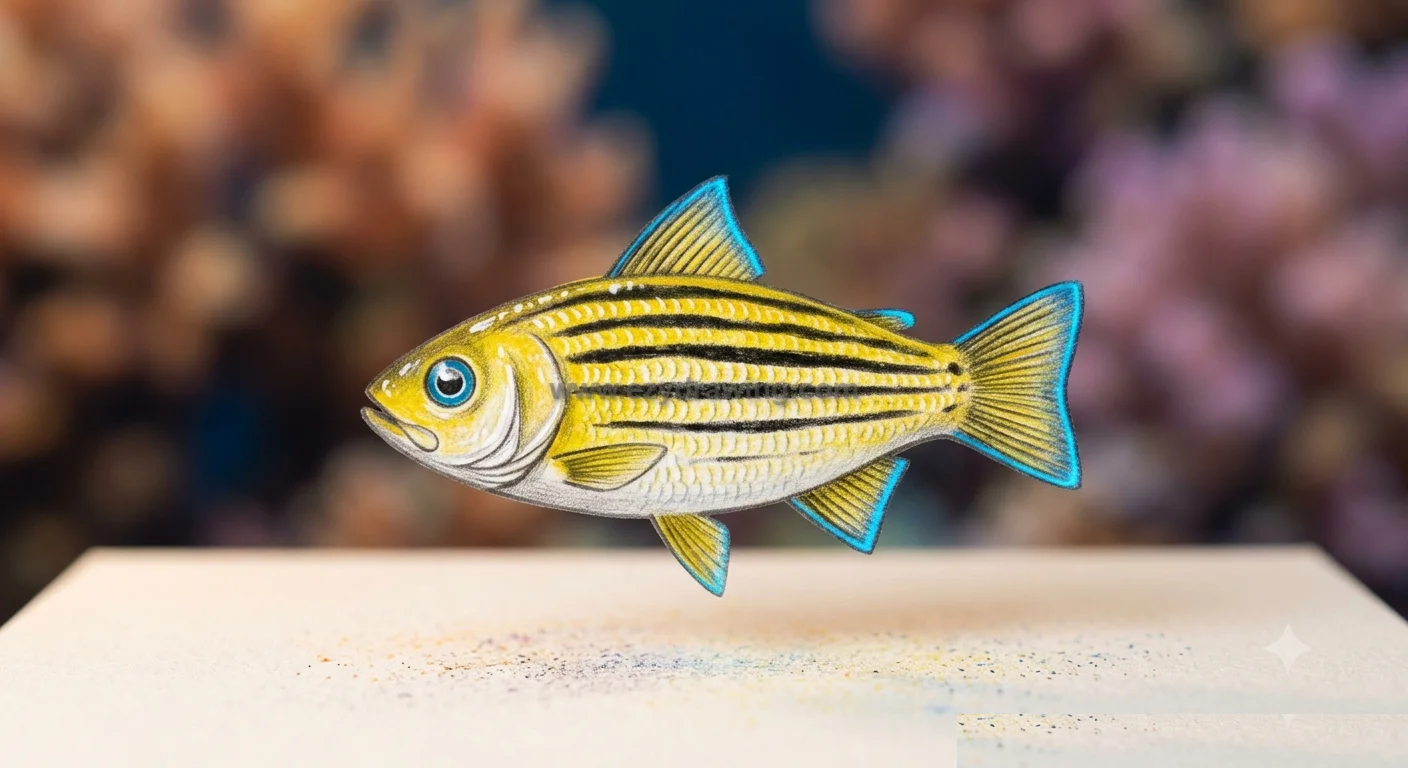
The final step is to refine the colored drawing from Image 4 and integrate it into a soft environment. Intensify the yellow and blue colors. Use a deep black to sharpen the eye’s pupil and darken the stripes. Add subtle white highlights (the ‘shine’) on the scales and the eye to suggest moisture and light reflection. Finally, instead of a plain workspace, soften the background into a diffused, abstract bokeh of light blue and soft orange (suggesting a coral reef), making the finished fish the sharpest element.
Summary: The 6 Stages of Fish Drawing
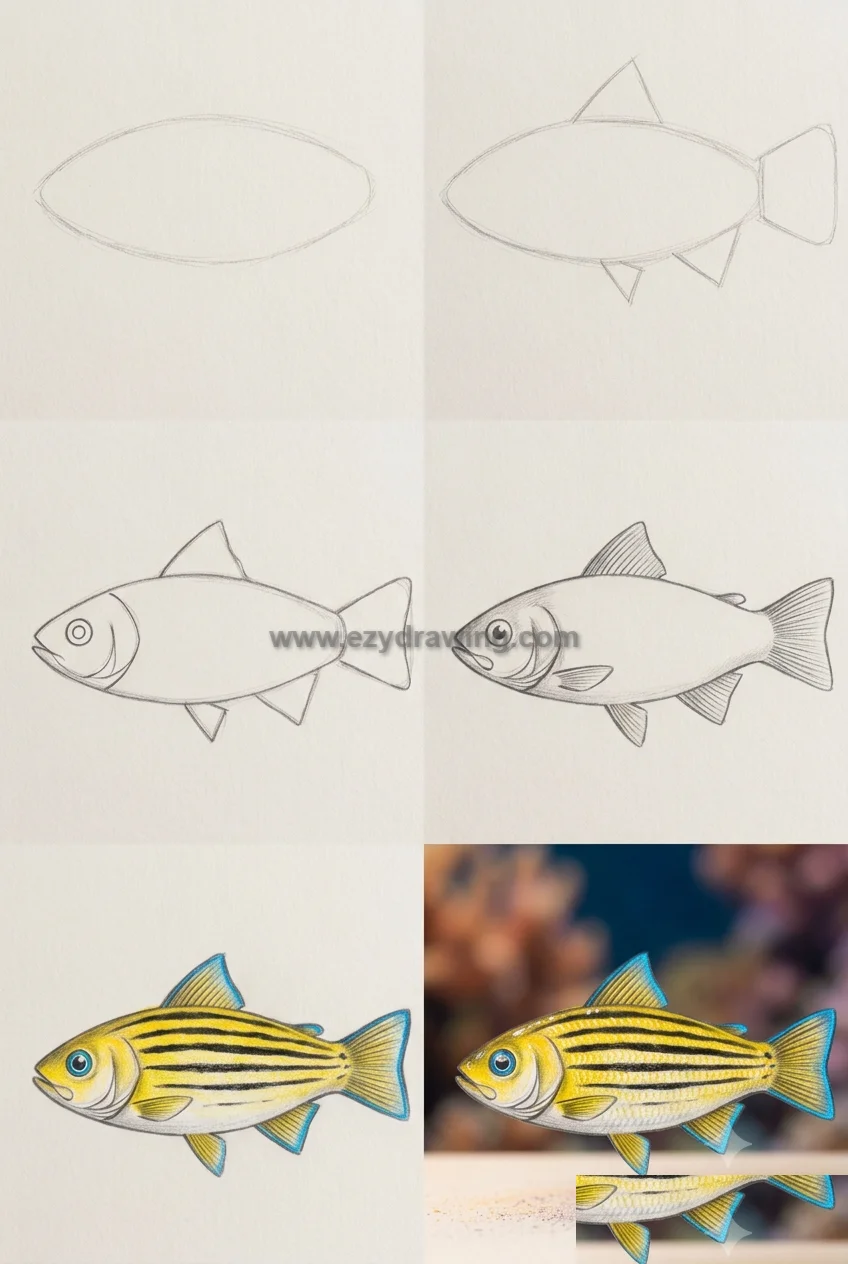
The image below provides a complete visual summary of the tutorial. It presented in a vertical (2:3) aspect ratio, showing all six distinct steps, from the initial oval to the final polished illustration.
Conclusion
By following this structural method, you can effectively learn How To Draw Fish. We began with nothing more than a simple oval (Image 0), established the geometry of the fins (Image 1), and then layered detailed features, texture, and vibrant color (Images 2-5).
This process works because it prioritizes construction over superficial detail. Remember that all complex forms are built upon simple underlying shapes. Once you understand this foundation, you can apply these steps to draw any species of fish with confidence. Keep practicing, and enjoy the process of bringing these aquatic creatures to life on paper!
How To Draw dinosaurs
How to Draw a Monkey
How to Draw a Panda
How To Draw a Cow
How To Draw a Butterfly