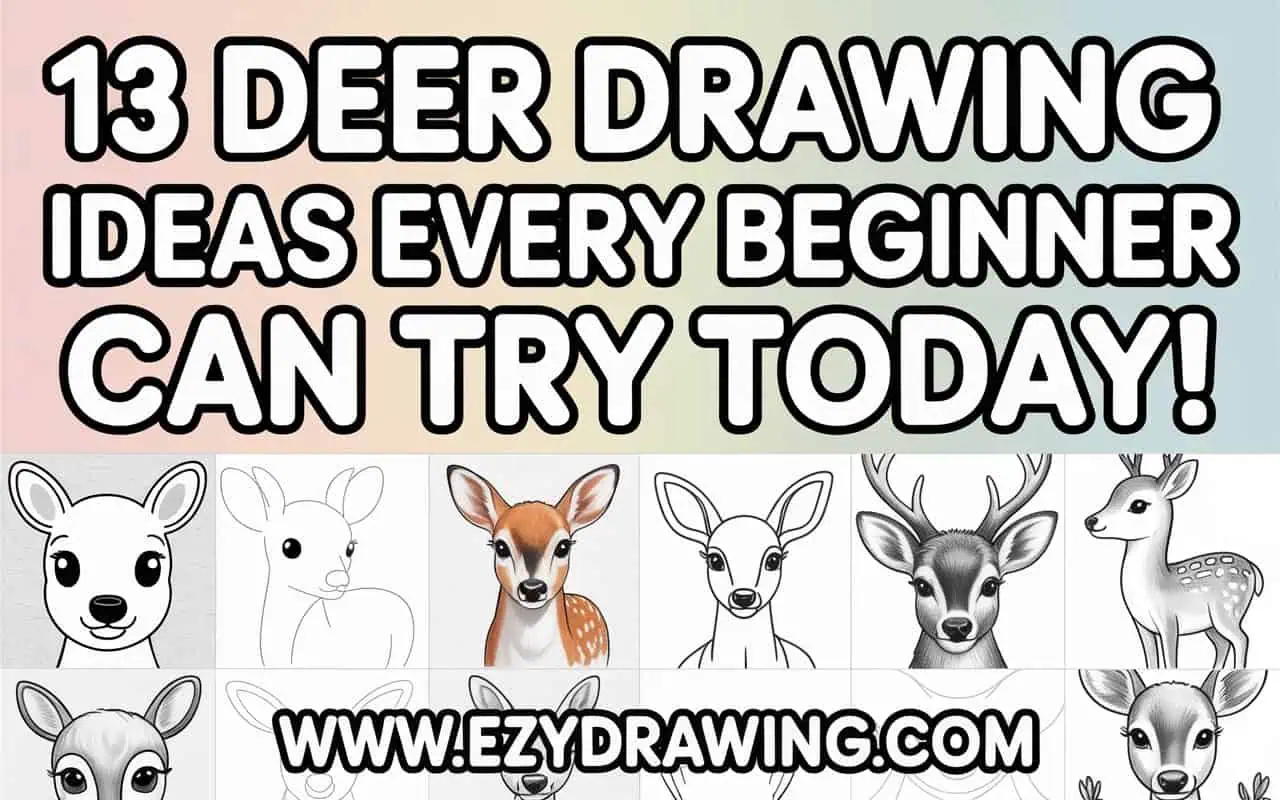
13 Deer Drawing Ideas Every Beginner Can Try Today
Deer drawing ideas is one of the most rewarding subjects for artists of all skill levels. In animal drawing, these graceful creatures offer beautiful lines, elegant proportions, and endless opportunities to practice capturing movement and form.
Whether you’re sketching a majestic buck or a gentle fawn, understanding the fundamentals makes all the difference. From basic shapes to advanced shading techniques, each approach helps you develop your artistic skills.
This comprehensive guide explores the best deer drawing ideas methods to help you create stunning wildlife art. Let’s discover techniques that will transform your sketches from simple outlines to lifelike masterpieces.
List of 13 Best Deer Drawing Ideas and Techniques
Deer drawing ideas help beginners learn how to draw animals in a simple and stress free way, much like elephant drawing, which also starts with basic shapes and gentle lines. These techniques focus on using easy shapes, smooth lines, and step by step methods that build confidence from the start.
With the right deer drawing ideas, beginners can practice proportions, movement, and basic details without feeling overwhelmed.
Each technique is designed to improve hand control and creativity while keeping drawing fun and approachable. This list of deer drawing ideas is perfect for anyone starting their drawing journey.
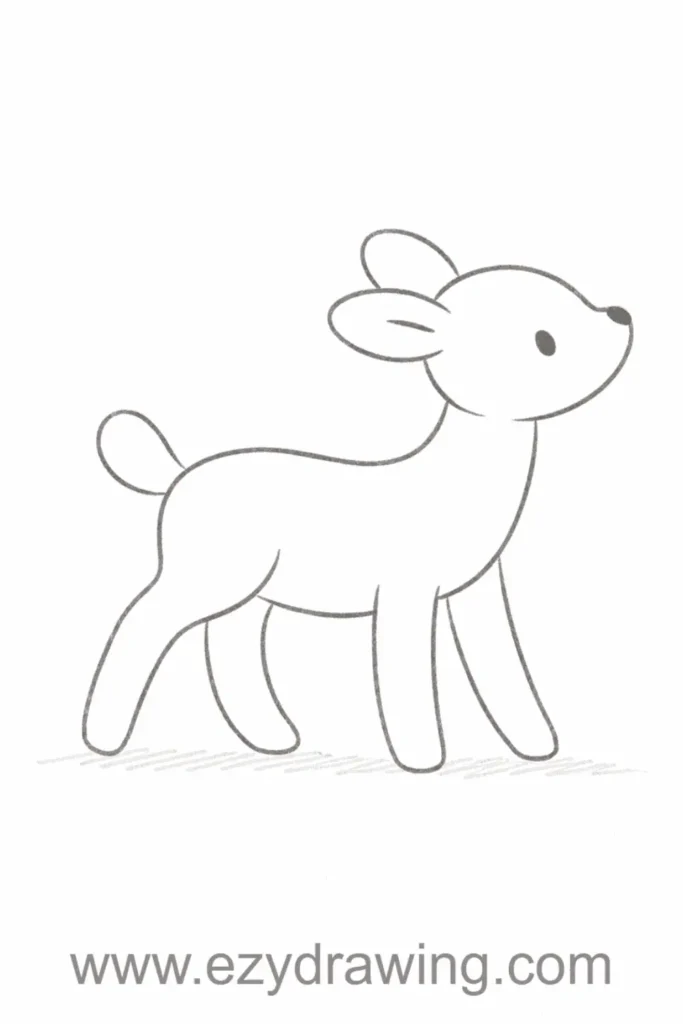
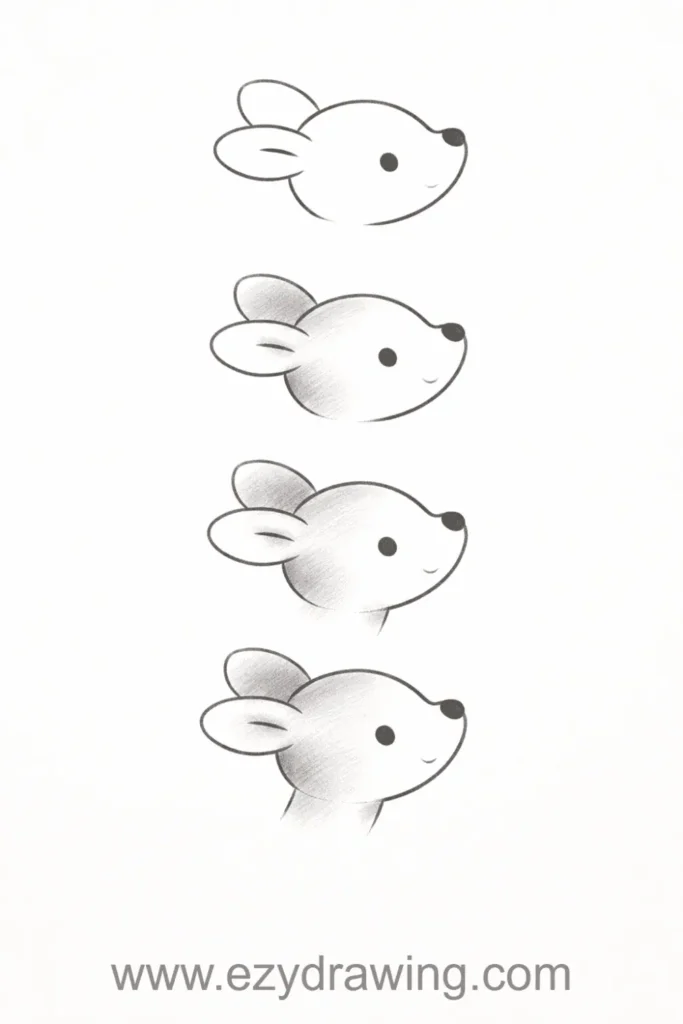
1. Basic Circle and Oval Foundation Method
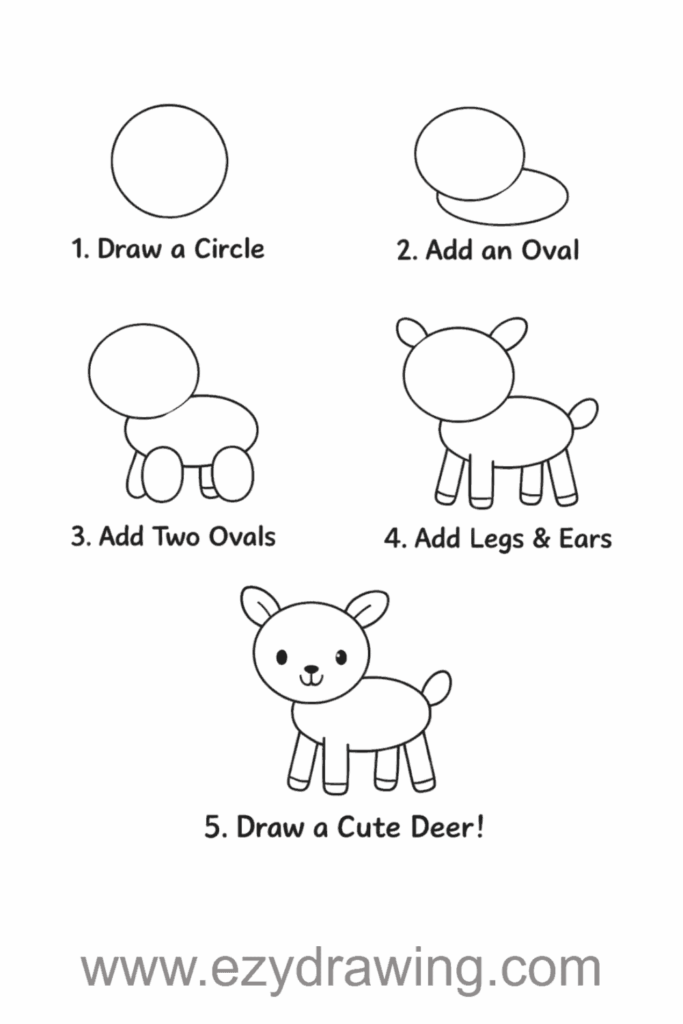
Starting with simple geometric shapes is the cornerstone of successful deer drawing. Begin by sketching two circles—one larger for the body and a smaller one for the head—then connect them with gentle curves to establish the neck and torso.
This foundational approach helps you maintain correct proportions throughout your drawing, similar to fox drawing, where starting with a solid base makes details easier to refine. Once your basic structure is in place, you can refine the details and add characteristic features like antlers and legs.
Pro Tip: Use light pencil strokes for your initial shapes so you can easily erase and adjust proportions before committing to darker lines.
2. Gesture Drawing for Natural Poses

Gesture drawing captures the essence and movement of deer in quick, fluid sketches. Spend 30-60 seconds drawing the overall flow and energy of the deer’s pose without worrying about details.
This technique trains your eye to see the dynamic movement and weight distribution that makes deer so graceful. Practice with reference photos or videos to understand how deer naturally stand, walk, and bound.
Pro Tip: Set a timer for 60 seconds and challenge yourself to capture the deer’s entire pose—this builds confidence and improves your observation skills.
Related: Easy Cute Snake Drawing Ideas
3. Anatomical Structure Study Method
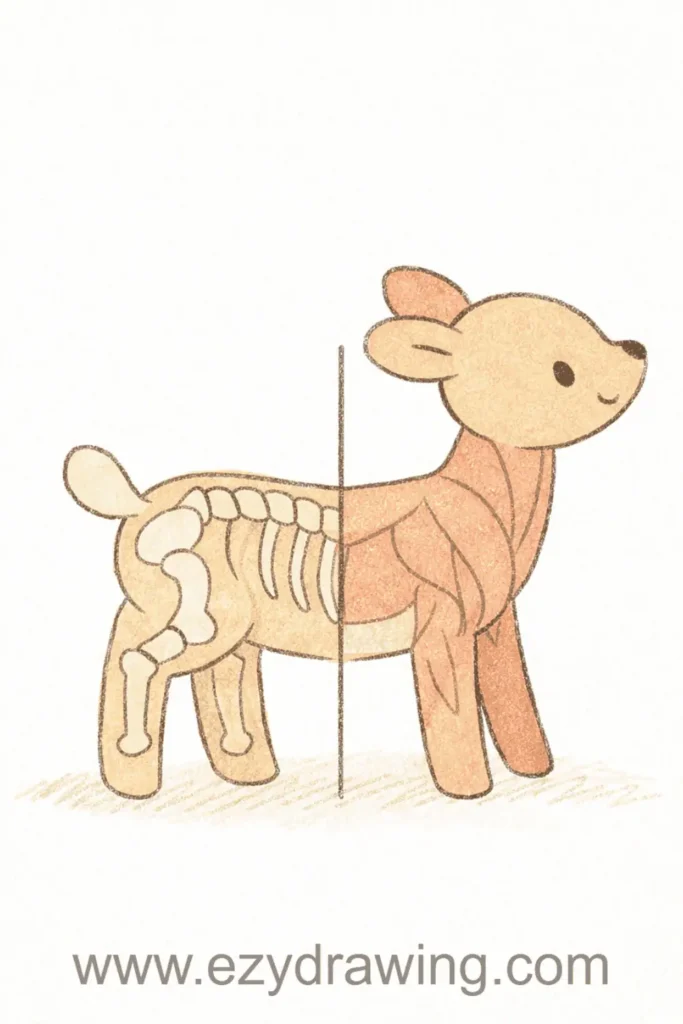
Understanding deer anatomy elevates your drawings from good to exceptional. Study the skeletal structure, muscle groups, and how they create the distinctive contours of a deer’s body.
Focus on key anatomical features like the powerful haunches, slender legs, and elegant neck. Knowledge of bone structure helps you position joints correctly and understand how muscles create surface forms.
Pro Tip: Keep reference images of deer skeletons and muscle diagrams nearby while drawing—they’re invaluable for checking your proportions and placement.
4. Contour Line Drawing Technique
Contour drawing involves carefully observing and drawing the outline of a deer without lifting your pencil. This method strengthens your hand-eye coordination and forces you to really see the subject’s form.
Try blind contour drawing where you look only at your reference, not your paper. While results may seem abstract, this exercise dramatically improves your observational skills for future deer drawing projects.
Pro Tip: Practice contour drawing for 10 minutes daily—the improvement in your line confidence and accuracy will be noticeable within a week.
Related: 12+ Easy Cute Frog Drawing Ideas
5. Grid Method for Accurate Proportions
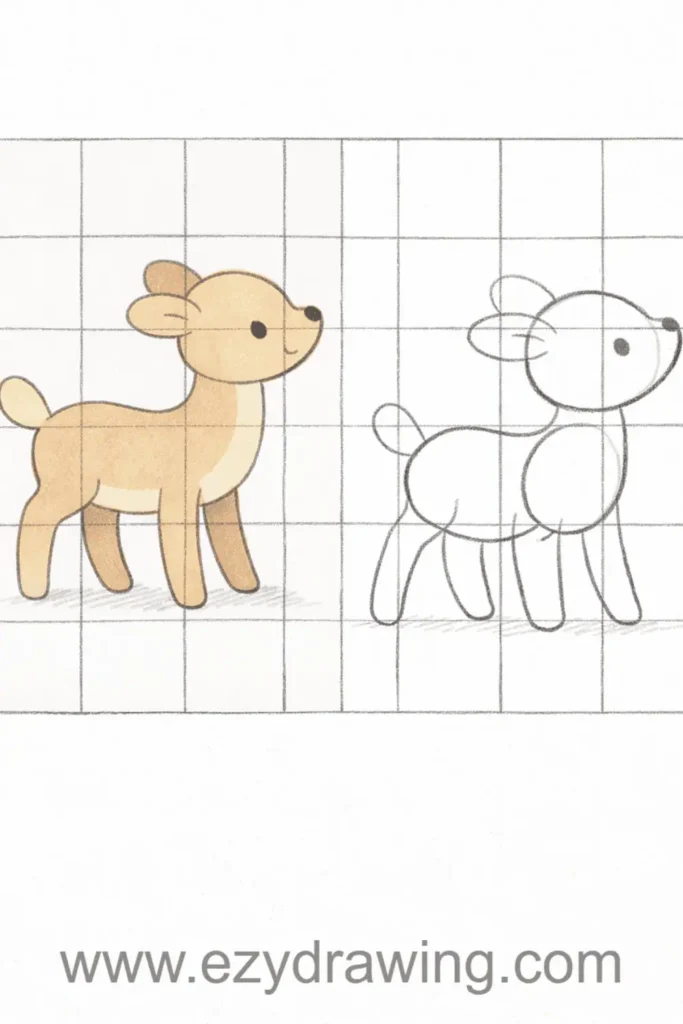
The grid method is perfect for achieving precise proportions in deer drawing. Divide your reference image and drawing paper into equal squares, then transfer what you see in each square.
This technique eliminates guesswork and helps you focus on one small section at a time. It’s especially useful when drawing complex poses or when you need exact accuracy for realistic artwork.
Pro Tip: Use a 1-inch grid for beginners—as your skills improve, gradually increase grid size to challenge yourself with larger sections.
6. Negative Space Drawing Approach
Negative space drawing focuses on the shapes around and between the deer rather than the deer itself. This counterintuitive method helps you see forms more accurately and avoid drawing what you “think” you see.
Pay attention to the spaces between legs, under the belly, and around the antlers. These negative shapes are often easier to draw accurately than the positive forms.
Pro Tip: Squint at your reference image to simplify forms and make negative spaces more obvious—this technique works wonders for complex antler structures.
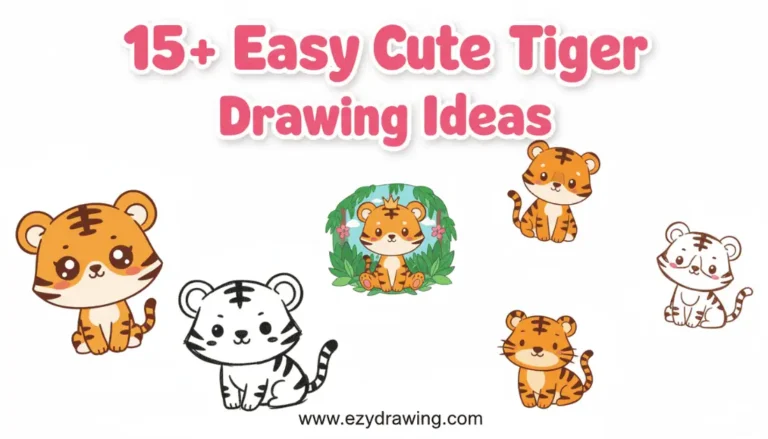
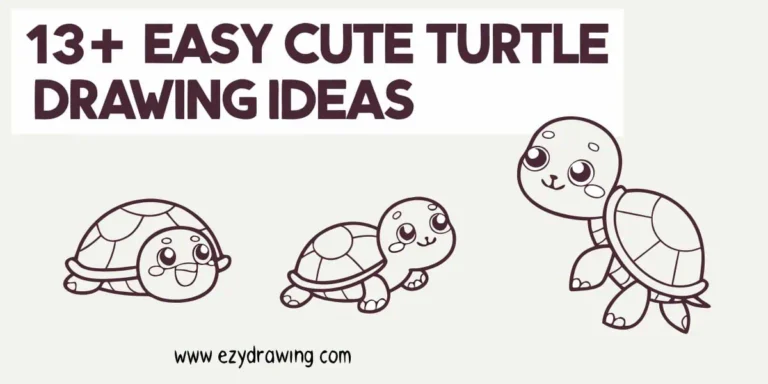
Related: 13+ Easy Cute Turtle Drawing Ideas
7. Value and Shading Fundamentals
Mastering value scales and shading brings depth and dimension to your deer drawing. Start by creating a value scale from light to dark, then identify where these values appear on your deer reference.
Use techniques like hatching, cross-hatching, and blending to create smooth gradations. Pay special attention to how light hits the deer’s coat, creating highlights on raised areas and shadows in recessed areas.
Pro Tip: Use a blending stump for fur texture—apply graphite in the direction of hair growth, then gently blend for a soft, realistic appearance.
8. Detailed Antler Drawing Technique
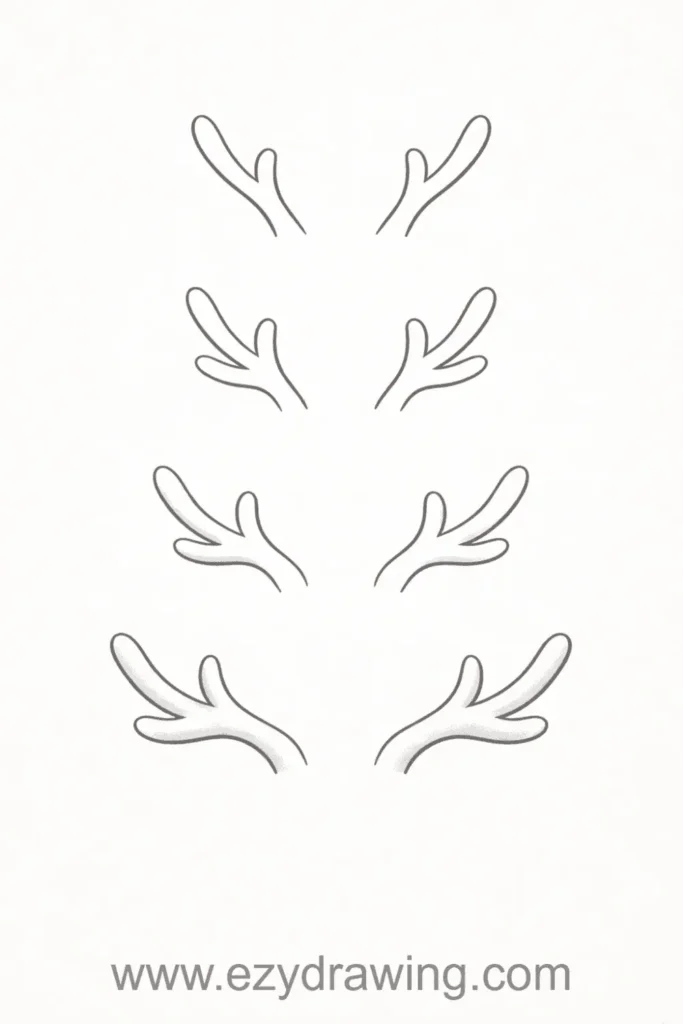
Antler structure can intimidate beginners, but breaking them down into branches makes the process manageable. Start from the base and work outward, treating each tine as a separate cylindrical form.
Observe how antlers have texture, ridges, and varying thickness along their length. Light typically hits the top and outer edges while shadows collect in the valleys between ridges.
Pro Tip: Draw antlers last after perfecting the deer’s head and body—this prevents frustration if you need to make adjustments to the overall drawing.
Related: 13+ Easy Cute Horse Drawing Ideas
9. Fur Texture Rendering Method
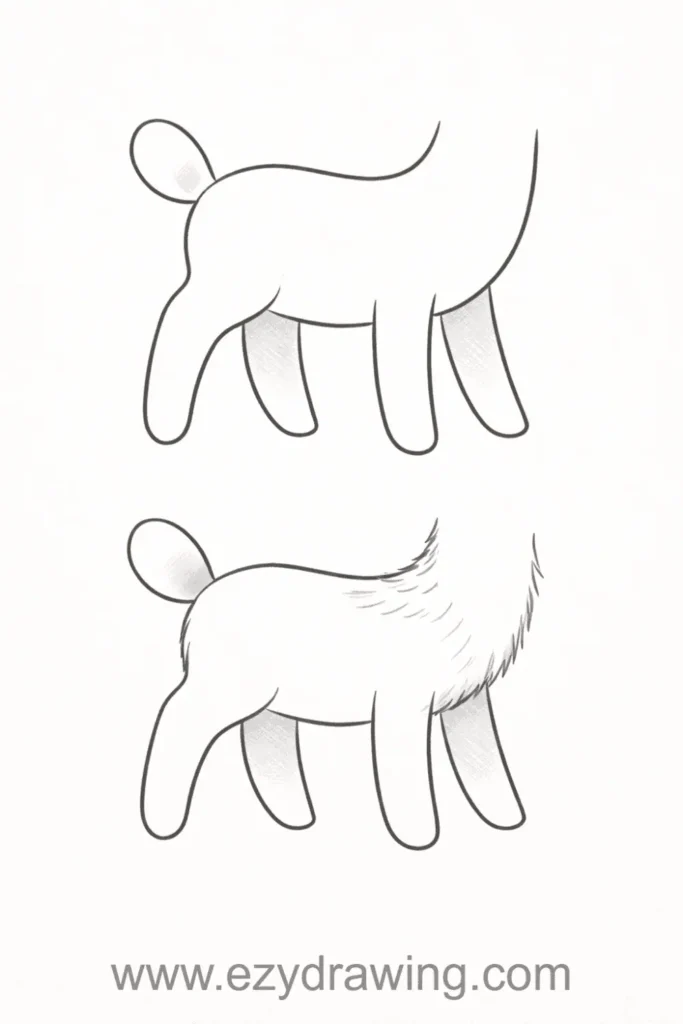
Creating realistic fur texture requires patience and the right technique. Use short, directional pencil strokes that follow the natural growth pattern of deer fur—shorter strokes on the face, longer on the body.
Layer your strokes gradually, building up depth and dimension through multiple passes. Vary your pressure to create lighter and darker areas that suggest the softness and volume of fur.
Pro Tip: Keep your pencil sharp and use a light touch—it’s easier to add more strokes than to remove heavy-handed ones.
10. Eye Detail and Expression Capture
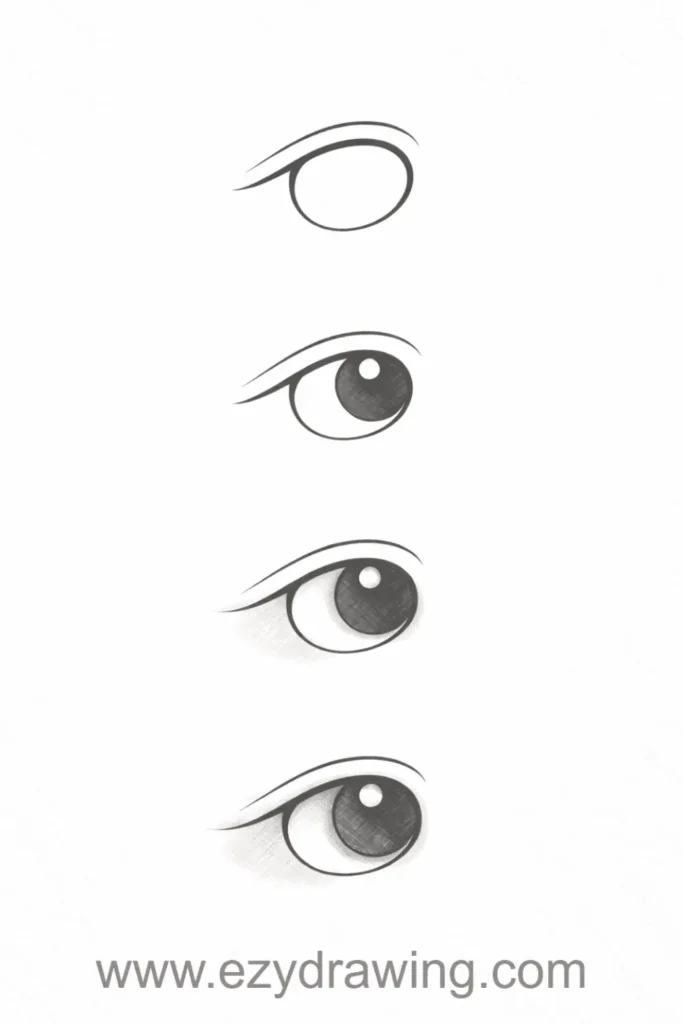
The eyes bring life and personality to your deer drawing. Study reference photos to understand the almond shape, placement, and reflective quality of deer eyes.
Include the highlight (catchlight), pupil, iris detail, and surrounding eyelashes for realism. The eye should be dark overall with a bright highlight that suggests moisture and awareness.
Pro Tip: Leave a small white spot untouched in the eye for the highlight—this tiny detail makes an enormous difference in creating a lifelike gaze.
Related: 14+ Easy Cute Bunny Drawing Ideas
11. Environmental Context Integration
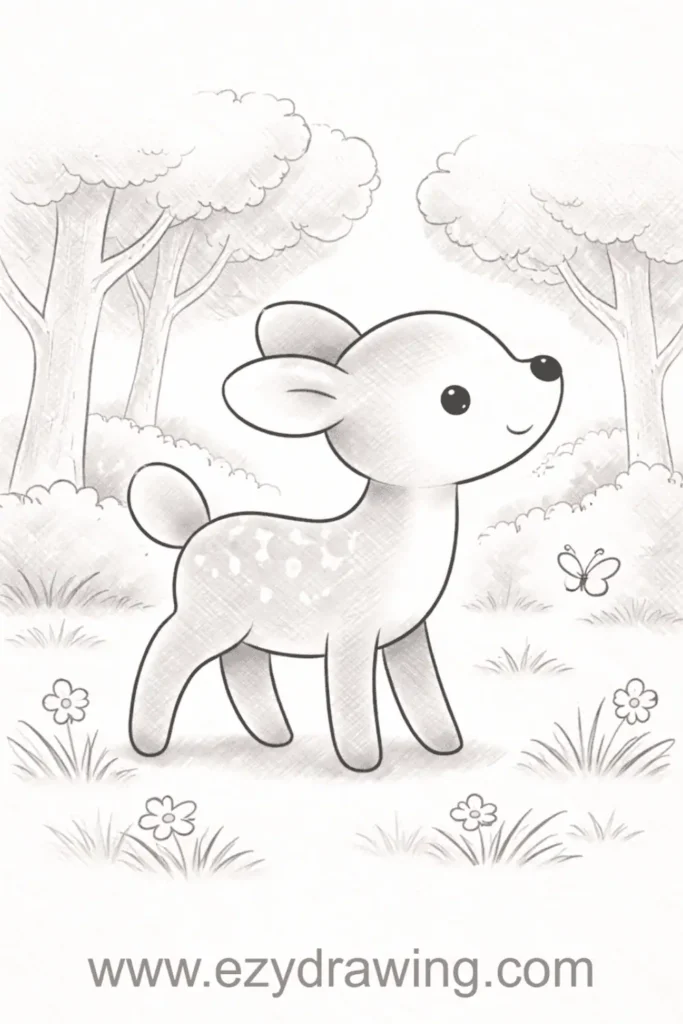
Placing your deer drawing within a natural setting creates narrative and visual interest. Simple background elements like trees, grass, or mountain silhouettes provide context without overwhelming the main subject.
Use lighter values and less detail in background elements to maintain focus on your deer. This atmospheric perspective technique creates depth and makes your deer appear more three-dimensional.
Pro Tip: Fade background elements by using lighter pressure and softer edges—the contrast makes your detailed deer stand out beautifully.
12. Dynamic Pose and Movement Studies
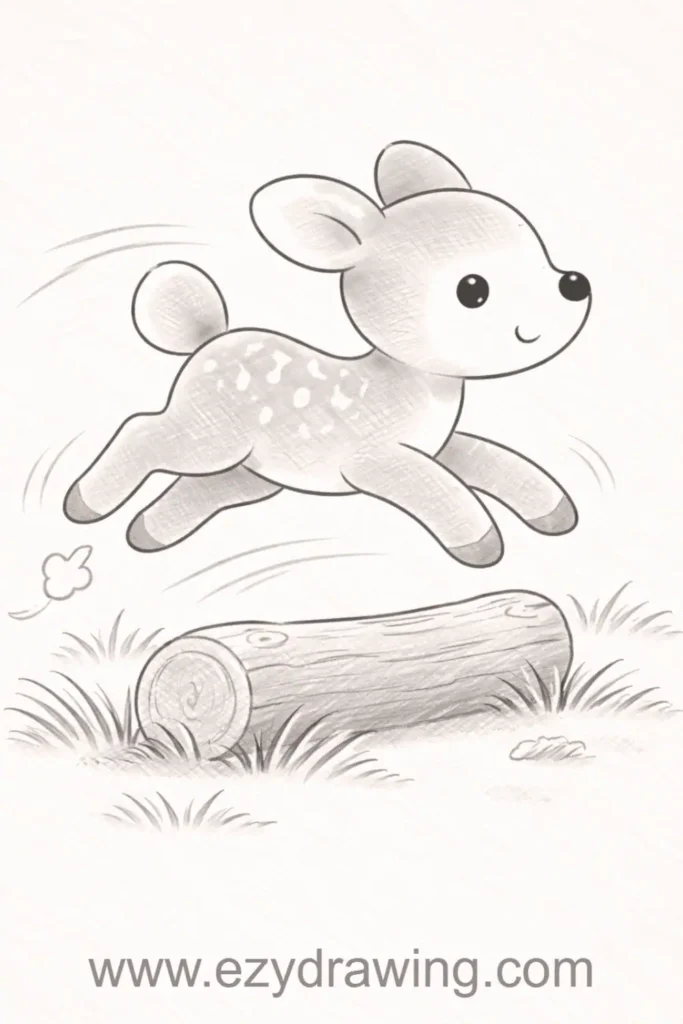
Capturing deer in motion adds excitement and energy to your artwork. Study how deer move—their bounding leaps, cautious steps, and alert stances each tell different stories.
Use action lines and directional curves to emphasize movement. Slightly blur or soften areas to suggest speed, while keeping focal points sharp for visual impact.
Pro Tip: Watch slow-motion videos of deer running and jumping—they reveal fascinating details about weight distribution and leg positioning that photographs miss.
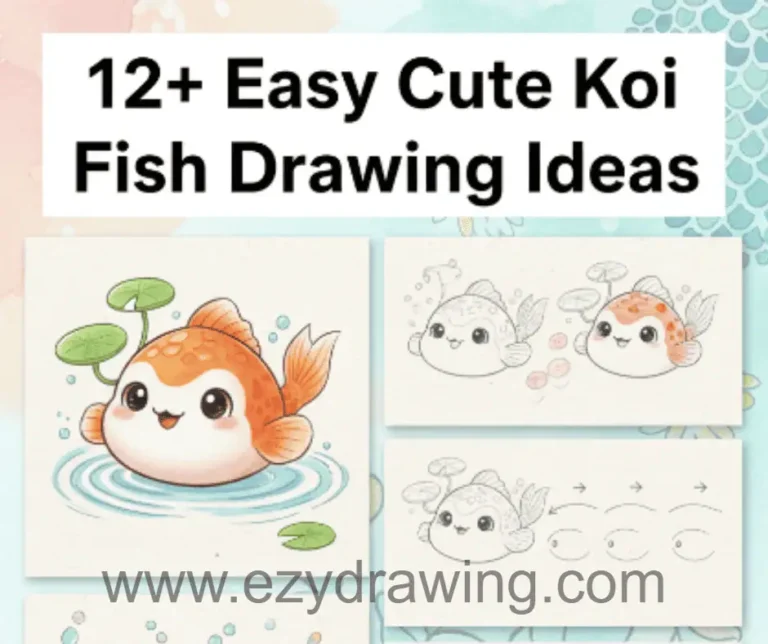
Related: 19+ Easy Cute Fish Drawing Ideas
13. Digital Drawing Adaptation Techniques
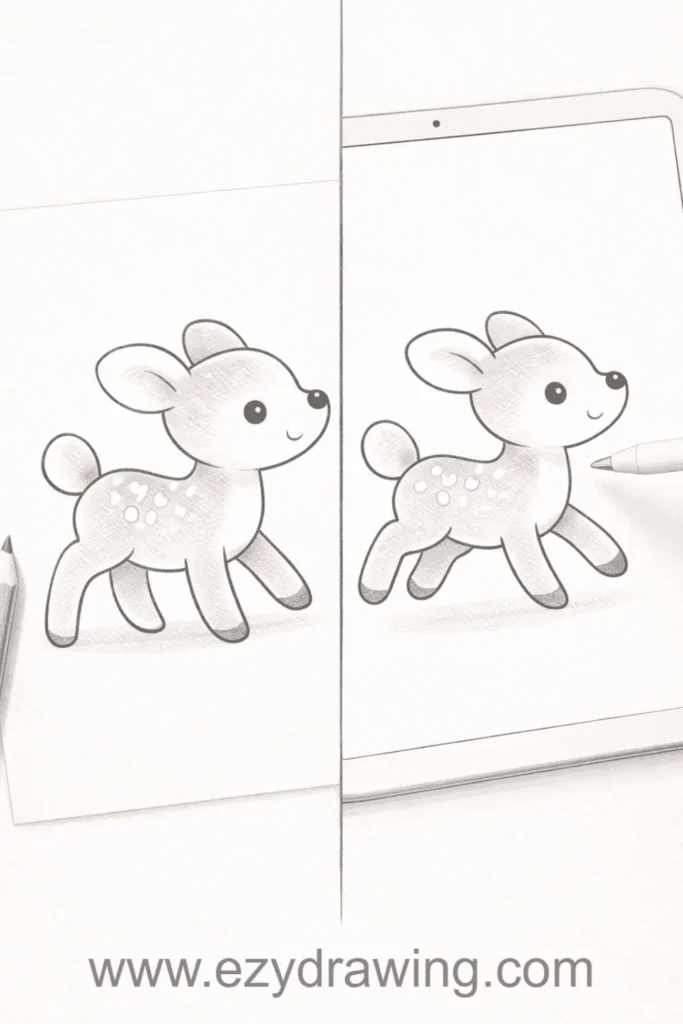
Translating traditional deer drawing skills to digital platforms opens new creative possibilities. Software like Procreate or Photoshop offers layers, unlimited undo, and customizable brushes.
Use reference layers, symmetry tools, and pressure-sensitive styluses to achieve effects similar to traditional media. Digital formats also allow easy experimentation with colors, backgrounds, and compositions.
Pro Tip: Create custom brushes that mimic your favorite traditional techniques—digital drawing should enhance, not replace, your existing skills.
Why Deer Drawing Techniques Are Worth the Investment
Mastering various deer drawing approaches significantly improves your overall artistic skills beyond wildlife art. The techniques you learn—proportion, anatomy, shading, and texture—transfer seamlessly to portraits, figure drawing, and other subjects.
Deer drawing builds patience and observational abilities that benefit every artistic endeavor. The complex forms, subtle details, and challenging textures push you to develop problem-solving skills that make you a more versatile artist.
The satisfaction of creating a beautiful deer drawing from scratch provides immense creative fulfillment. Whether for personal enjoyment, portfolio development, or professional opportunities, these skills open doors to wildlife illustration, commissioned artwork, and artistic career paths.
Things to Consider Before Choosing Deer Drawing Methods
Your current skill level should guide which deer drawing techniques you attempt first. Beginners benefit from foundational methods like basic shapes and contour drawing, while advanced artists can tackle complex anatomy studies and dynamic poses.
Consider the materials and tools required for different techniques before starting. Some deer drawing ideas methods need only basic pencils and paper, while others benefit from specialized tools like blending stumps, varied graphite grades, or digital equipment.
Think about your artistic goals and timeline when selecting deer drawing approaches. Quick gesture studies suit artists wanting to capture movement and energy, while detailed anatomical rendering appeals to those pursuing realistic, gallery-quality wildlife art.
Our Other Article You May Like
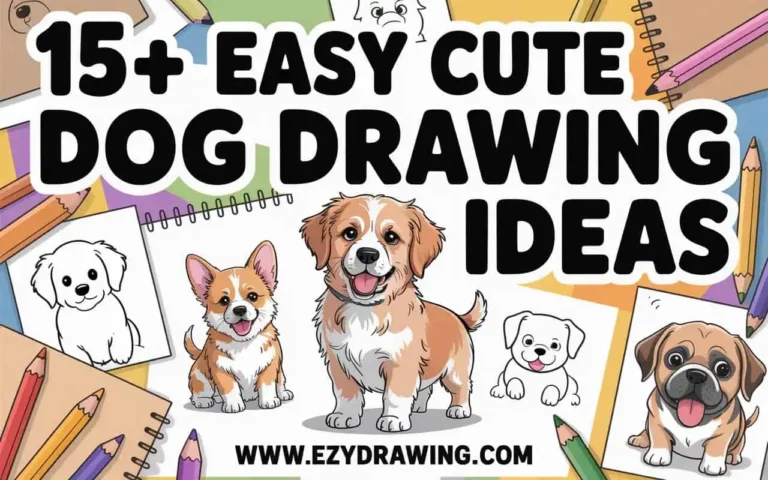
15+ Easy Cute Dog Drawing Ideas
19+ Easy Cute Jellyfish Drawing Ideas
18+ Easy Cute Shark Drawing Ideas
20+ Easy Butterfly Drawing Ideas
21+ Unseen Cat Drawing Ideas